How to Start Trad Climbing
**Disclaimer** This should go without saying, but trad climbing is super dangerous! When going out into the mountains or even to a cragging area you should put your safety and the safety of your partner above all else. This is not meant to be an all-encompassing training manual for trad climbing, but a general guide for those seeking to break into the sport. Please do additional research like taking classes, go on guided trips or tag along with people who are advanced and able to show you the ropes. Be safe!
It’s climbing season, which means people are getting back into the gym, trying a new sport, or training harder than the year before! With all the budding trad climbers out there, I wanted to set up some guidelines for how to start trad climbing.
Step 1: Become a highly competent lead belayer
Before you can start running it out on the sharp end, you need to be exceedingly competent as a belayer. This means catching big falls, knowing how and when to feed out slack, making sure you don’t short rope your partner, and knowing how to manage the weight difference between you and your partner during a fall.
You should also become familiar with many different types of belay devices and understand how and why you would use one over the other.
You should also know how to belay from above and how to set up this belay with both a GriGri and an ATC.
I cannot stress this enough, being a good belayer is crucial to climbing safely. With trad climbing, this is doubly important.
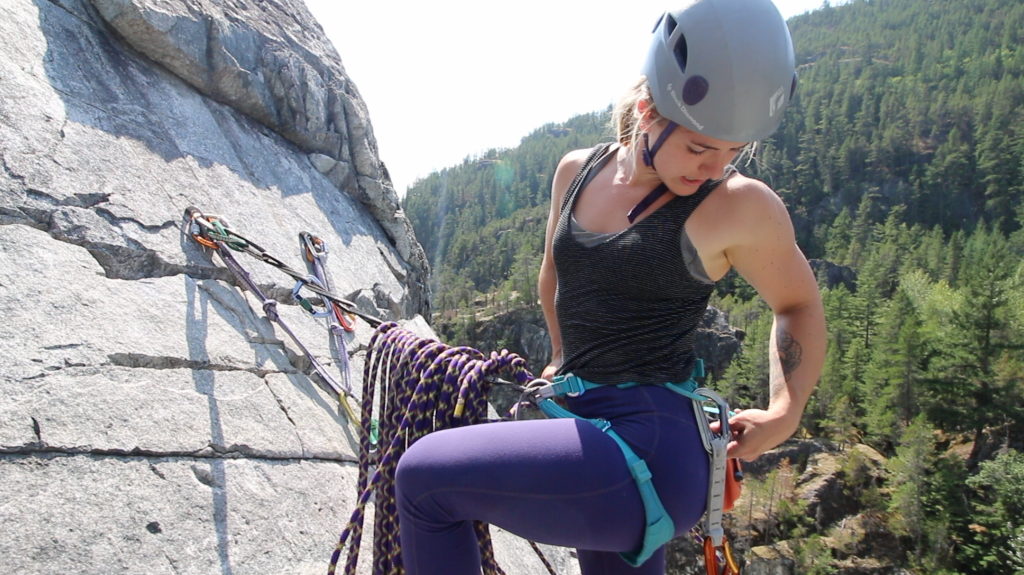
Step 2: Become comfortable with cleaning anchors and rappelling/lowering
If you look through any issue of the Accidents in North American Mountaineering publications, you will see rappelling as one of the leading causes of accidents. (After getting lost, and dehydration.) Many people, including myself (yikes!), started climbing with little understanding of how to safely rappel. There are lots of single pitch trad climbing areas that have rappel anchors at the top of the climbs. You should be able to safely and confidently secure yourself to the chains, remove a top-rope anchor, and safely rappel to the ground.
This includes understanding why and how to use a prusik, how to give a fireman’s belay, when to tie knots in the end of your rope, and how to saddlebag your ropes ends if it’s really windy.
It’s really common in sport climbing areas for people to rappel off a climb without the use of a prusik. While I don’t think it’s safe to ever not use a prusik, it does happen. I encourage anyone getting into trad climbing to pick up a prusik and use it religiously. Cleaning gear off a route is much harder than cleaning quickdraws off a sport climb and having the ability to stop yourself midway down the rope is essential to safely rappelling.
It’s worth mentioning that THE MOST IMPORTANT part of getting back to the ground is having good communication with your partner. If you are going to lower off a climb (instead of rappel), you should communicate that with your partner before you leave the ground.
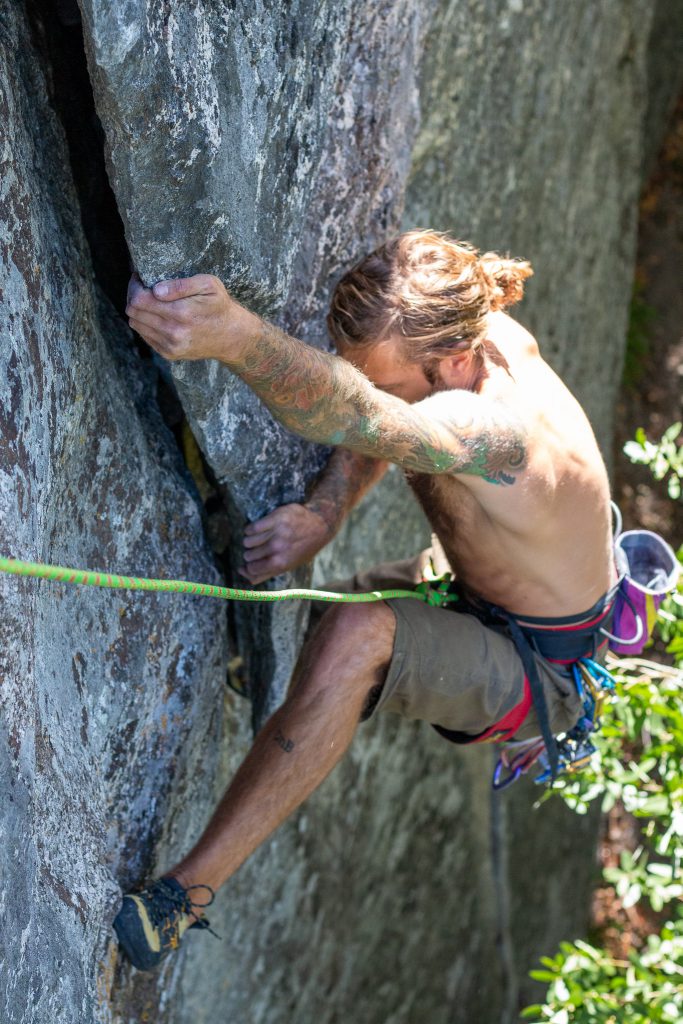
Step 3: Be a confident sport climber on lead
I don’t think you need to be able to send 5.12 or even 5.11 on sport before you get into trad climbing. Sport climbing (placing and clipping quickdraws) and trad climbing (placing and clipping trad gear) are two different dialects of the same language. It’s like speaking Spanish vs speaking Portuguese. They are similar enough that learning one could help you learn the other but different enough that you could learn each individually with no problem.
However, the skills you learn leading sport climbing will help your confidence in leading trad. Also, learning to fall while sport climbing is much safer and more manageable than learning to fall while also learning to trad climb. If you’re not yet leading in the gym, I would recommend taking a class and getting comfortable clipping quickdraws, trusting a partner, and learning how to keep your feet in front of the rope!
Step 4: Master your sport anchor building skills
Do you know how to build an anchor? Do you know the difference between a sliding X and a quad anchor? Do you know what limiter knots are? How many locking carabiners should you have in a top-rope anchor? How about a multi-pitch anchor? You should learn the components of a safe anchor and practice applying them with a variety of materials.
Sport climbing is a really great way to get comfortable with the skills you need to have for trad climbing. Most of the skills involve being comfortable with your rope systems, including building anchors. On a lot of trad climbing routes, especially those made for beginners, the anchors are bolted. This means all you need to know is how to secure yourself to the bolts and create a safe anchor system for a top rope or a multi-pitch climb.
Before you get into trad anchors and placing gear, you should just be comfortable with safe anchors on bolts. There are plenty of trad climbs that have bolted anchors, so seek those out first.
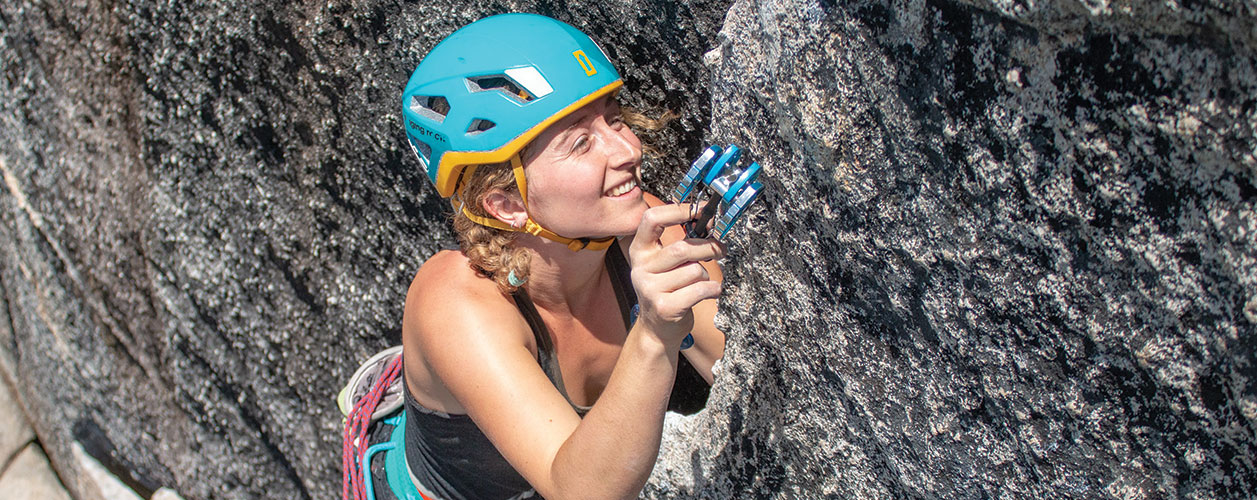
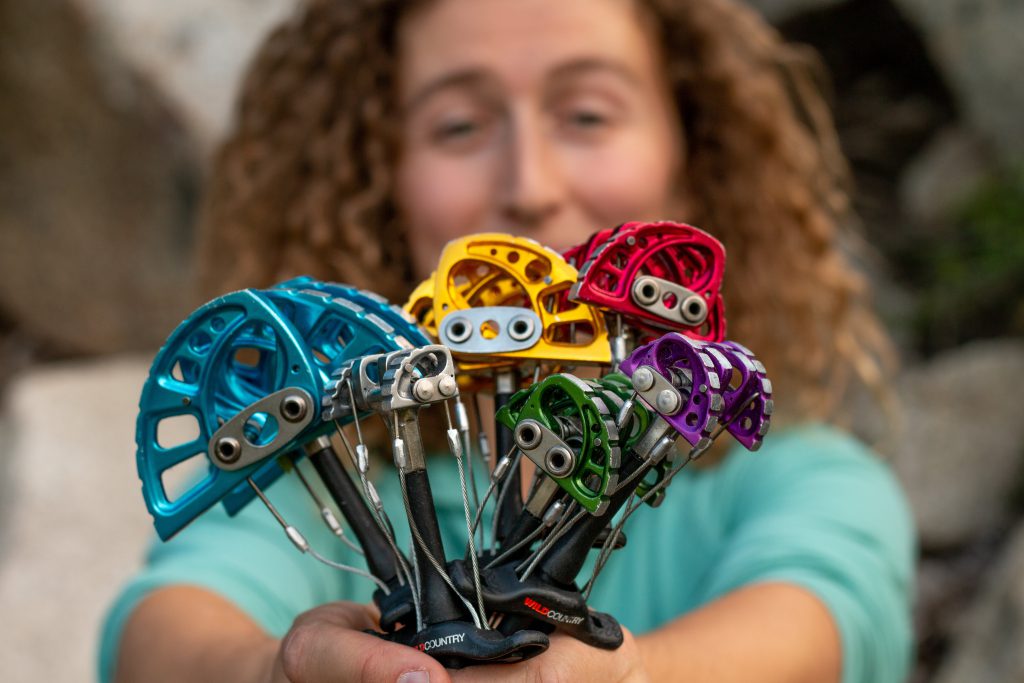
Step 5: Practice placing gear on the ground
Finally! You’ve mastered your basic rope skills and feel confident enough to start messing around with cams, nuts, hexes, tricams and whatever the heck a linkcam is… ON THE GROUND.
I can’t emphasize this enough. You must practice placing gear on the ground before you start leading on gear. I can’t tell you how many times I’ve watched someone placing awful gear on lead. It can be very common for people to spend years placing bad gear, and since they’ve never taken a fall, they can never know for sure if it will hold or not.
To avoid this potentially deadly mistake, place gear of all sizes on the ground, then clip yourself to it and hang off it. Better yet, bounce test it! Clip a sling to a cam and stand on it, bounce all over it and try your hardest (and I mean your hardest) to rip it out of the wall.
Do this with all sizes of cams from the smallest micro cam you can find, to the largest Big bro or Valley Giant. Practice placing cams or nuts in different constrictions. Place them sideways, place them upside down and see what happens when you pull on them.
I highly recommend watching a few YouTube videos from reputable sources about good cam placements. Also, ask for as much feedback on your placements as possible from competent trad leaders. They will be able to give you real-time feedback that is extremely valuable.
Step 6: Practice placing more gear on the ground
You thought you were done? No. 100% not. No.
Go back to the crag and place more gear on the ground. Ask your friends to try and pull it out, ask the kid warming up on 5.13 to try and pull it out, definitely ask the crusty old guy grumbling about ethics to try and pull it out. While he’s there, ask him to ruthlessly critique your placements. He will make you feel bad about what you’ve done, but that’s good. You want to get as many experienced eyes on your cam placements as possible at the beginning of your trad career. Be extra humble about the gear you place at the beginning of your trad career. It could kill you, so take it seriously.
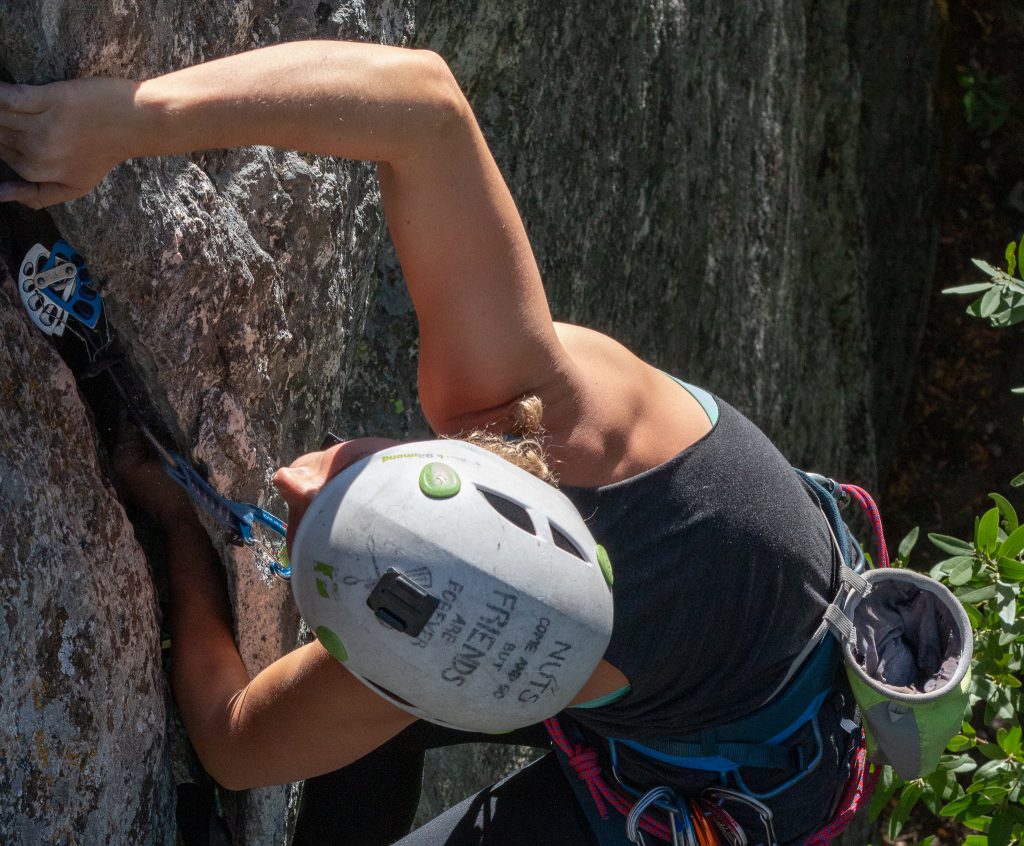
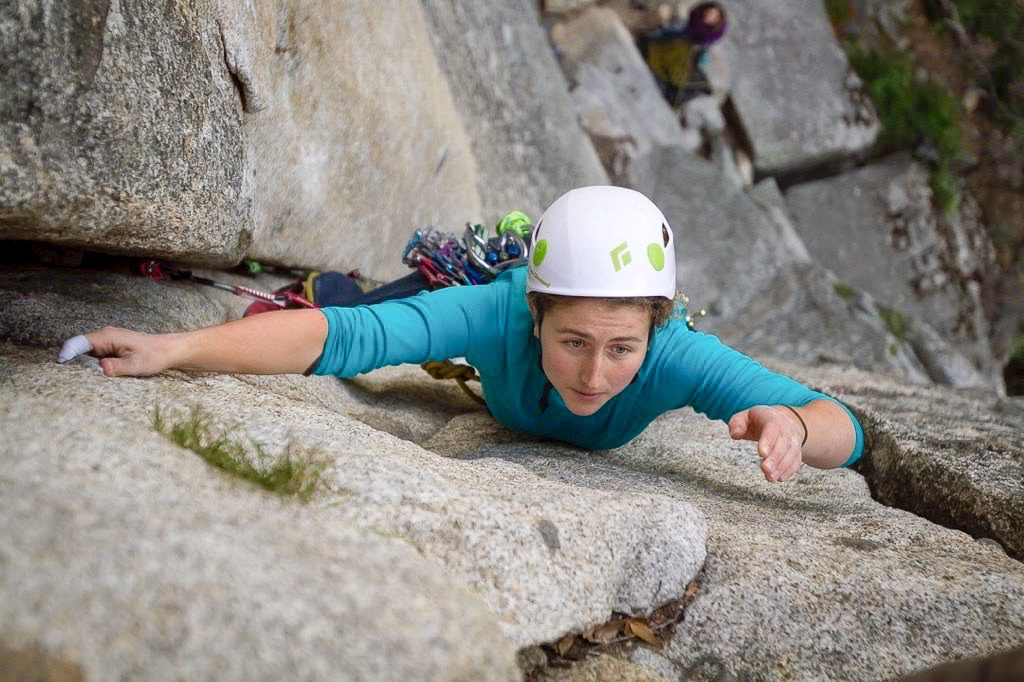
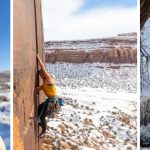
Step 7: Learn how to crack climb. On top rope
It’s time! You have been mastering your rope skills and gear placements. You understand how to clean anchors and rappel. Now it’s time to go to a wall where you can set up a top rope anchor by walking to the top of the cliff, and practice crack climbing.
Ahh crack climbing. In the beginning, you love to hate it. Later, you hate to love it. It’s an incredibly fun, challenging, and painful way to climb. It’s also primarily what you will be climbing when taking up trad, at least in the western half of North America.
I recommend practicing crack climbing in a gym (if your gym has a crack) or going somewhere where you are forced to climb crack, like Indian Creek in Utah or the Lower Gorge by Smith Rock in Oregon. If both of these places are too far away, just go to your local trad crag and do your best to top rope cracks of all sizes until you feel fairly confident in your crack skills.
You’ll also want to get a new pair of shoes and maybe some hand jammies. At the very least you should get comfortable taping your hands, it will save you a lot of skin in the early stages of your trad career.
If you don’t know how to tape, I’ve got a handy dandy guide to making tape gloves for you to check out.
Step 8: Mock lead a few things

One of the best things I ever did for my trad climbing career was ‘mock lead’ a few pitches before I actually lead them. This meant getting on a top rope climb and ‘mock leading’ the pitch. Complete with gear, rope, and additional belayer. It might feel like overkill, but if you get some buddies together for a fun afternoon and swap turns mock leading a pitch, (and have someone check gear placements!) I promise you’ll have a good time.
While you’re mock leading, try and bounce test a few placements. This can turn your ‘mock lead’ into a ‘mock aid lead’ but that’s ok. You’re on top rope for a reason. You want to make sure you’re placing good gear before you get out there and put your life on the line.
Step 9: Get comfortable building trad anchors
As you begin to get more comfortable with trad climbing and its many nuances, trad anchors will become increasingly important.
You should know how to build a trad anchor before you leave the ground.
However, there are many places where you wouldn’t necessarily need this skill because of how the climbs are bolted. Anywhere you would go single pitch trad cragging will usually have bolted anchors at the top of each climb. That being said, this is your life we’re talking about. So knowing how to set up and break down a trad anchor is very important. Always make sure you know what type of anchor to expect at the top of a climb and bring the appropriate gear accordingly.
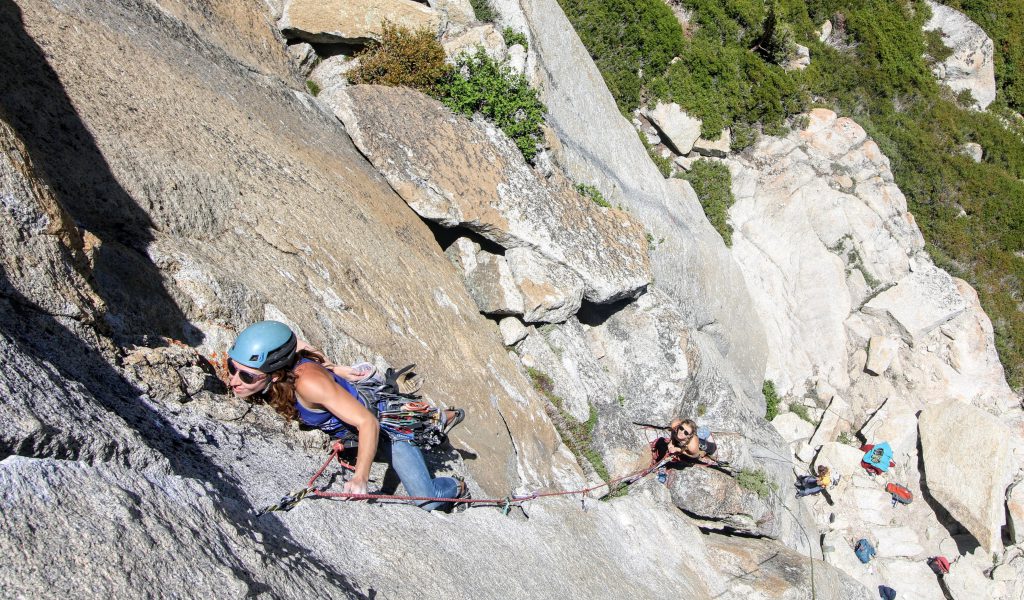
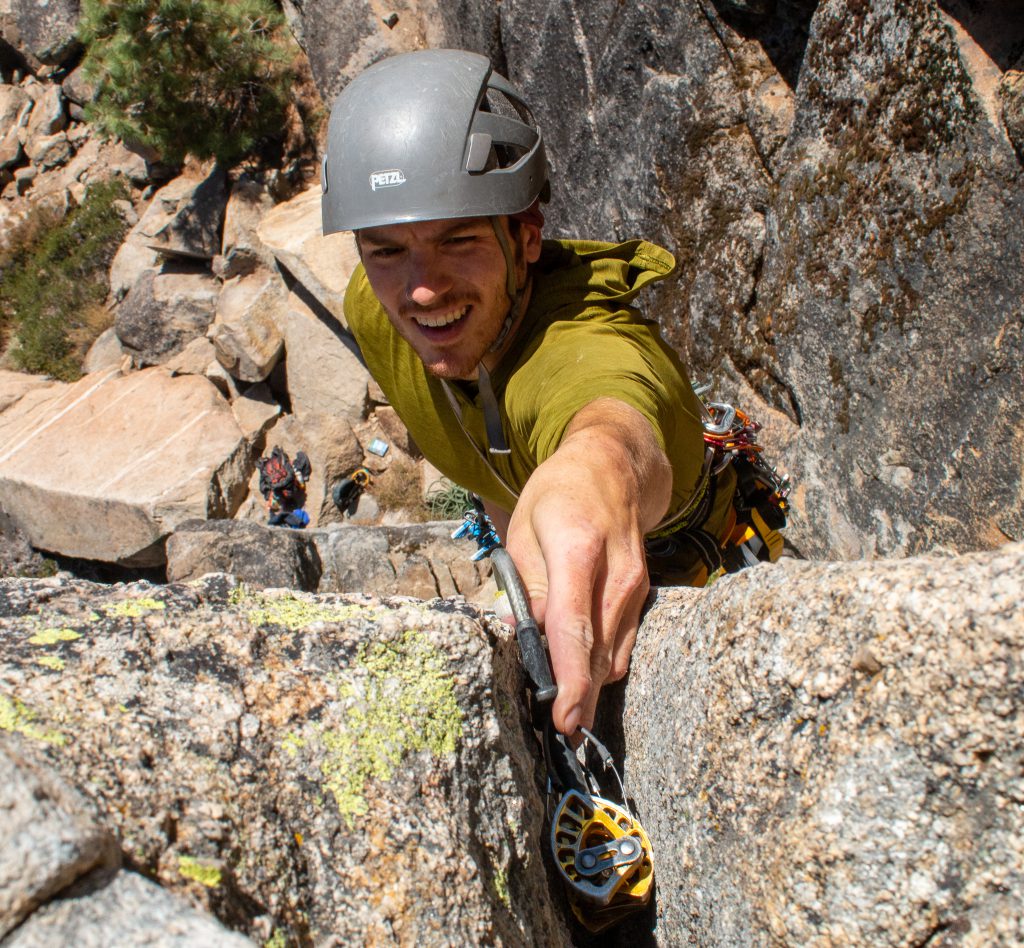
Step 10: Find a stoked and competent partner and get after it!
At last! After all this preparation! You are finally ready to get out there and start trad climbing. Go buy a guide book for your local crag, go hit up a rando on Mountain Project (kidding! Find a safe partner you trust), get scared on your first 5.9, tear your first gobie, feel inspired by your first top out!
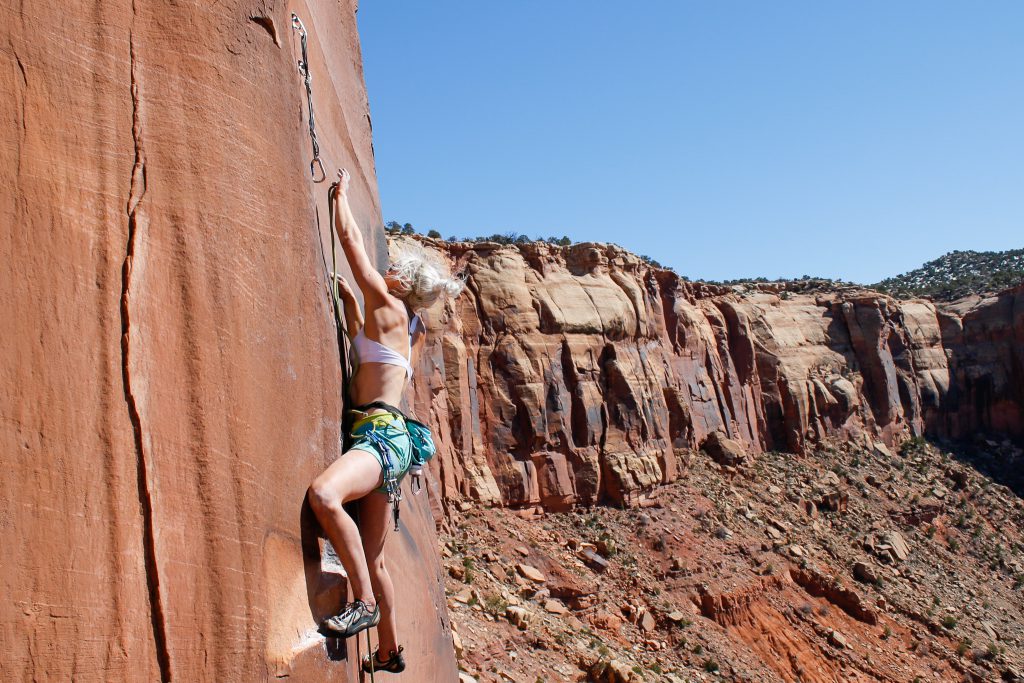
Start leading way below your comfort level. Unlike sport climbing, there are many accessible 5.5-5.8 trad climbs that are adventurous, unique, mentally challenging and super fun to boot. So don’t feel pressured to instantly be trad climbing at your sport climbing grade. Remember, this is supposed to be fun!
Although I’ve spent the majority of this article warning you of the dangers of trad climbing and the challenges ahead, trad climbing is incredibly fun! Above all else, trad climbing is an amazing way to spend your time in nature. It has taken me literally to the highest points in my life and has exposed me to people and places I never would have thought possible.
The glory of watching a sunrise on a mountain top, the relief of feeling the ground beneath your feet, the excitement of pulling the crux on a climb, and the sweet taste of victory as you sit around a campfire and retell your story is unlike anything else in this world.
So above all else, be safe, be cautious, but remember to have a good time.
And good luck!
Kaya Lindsay is the social media coordinator for Yosemite Facelift. She is also a writer and photographer with a passion for rock climbing and the outdoors. In 2016 she converted a Sprinter Van into a tiny home and has been traveling around the US & Canada to pursue her passion for rock climbing ever since. You will most likely find her in a parking lot or coffee shop, camera in hand, planning her next adventure. Connect with her on Instagram @OneChickTravels
About the Gear Tester
Kaya Lindsay is a writer, photographer, and filmmaker with a passion for rock climbing and the outdoors.
In 2016 she converted a Sprinter Van into a tiny home and has been traveling around the US & Canada to pursue her passion for rock climbing. Since hitting the road she has begun a career in filmmaking and is currently working on her One Chick Travels series, highlighting solo female travelers who live and work to pursue an adventurous lifestyle. Her films have been highlighted by major brands such as Backcountry and Outside TV. To fulfill her passion for writing, she chronicles her many adventures in her blog. Professionally, she writes for the adventure sports company Outdoor Prolink and The Climbing Zine. Kaya hopes to spend many more years in her tiny home on wheels, Lyra, and is currently living in Moab Utah.
-
Kaya Lindsayhttps://blog.outdoorprolink.com/author/kaya/
-
Kaya Lindsayhttps://blog.outdoorprolink.com/author/kaya/
-
Kaya Lindsayhttps://blog.outdoorprolink.com/author/kaya/
-
Kaya Lindsayhttps://blog.outdoorprolink.com/author/kaya/