So You Want to Hike the JMT? A Tutorial
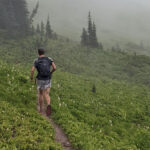
The John Muir Trail is a spectacular, 220 mile walk through the High Sierra of California. Instagram, YouTube, ‘Mile, Mile and a Half’, and so many other media publications have spoken its praises. And rightfully so! It’s an absolutely spectacular section of ~200 miles of backpacking through the High Sierra of California.
Do YOU want to hike it? Great! Here’s a few things to consider to get you started on your journey:
Permits are CHALLENGING!
In some ways, hiking the trail is easier than the logistics of preparing for it. To hike along the JMT “corridor”, you will need a permit issued by one of the forestry agencies in the Sierras. Your permit depends on your entry point. For example, if you wish to start in Yosemite National Park you need an overnight permit issued by Yosemite.
The “typical” starting point for the JMT is Happy Isles->Little Yosemite Valley in Yosemite National Park. Getting a permit for this entry point is like getting Willy Wonka’s ‘Golden Ticket’…good luck. There is a lottery process for this permit that spans multiple months and has thousands of entries, with only a few permits granted for each day.
Don’t be discouraged – there are alternative ways to get a permit to hike the JMT! For example:
- Go ‘NoBo’ or ‘northbound’ and start at the southern terminus. You’ll be applying for a permit in the Cottonwood Lakes zone near Mt. Whitney. You’ll be starting with a climb of the highest point in the Lower 48 (14,505’), so altitude sickness can be a challenge. This permit is less ‘fought for’ than the one in Yosemite.
- Start in Lyell Canyon in Yosemite, as opposed to Happy Isles. You won’t be hiking past Half Dome or Clouds Rest, but it’s slightly easier.
- Enter part-way through the trail in the Inyo National Forest trailheads. There are multiple entry points you can take that have much less demand for them, since they aren’t the ‘full JMT’.
All that said, be aware that if you want to hike the JMT ‘proper’, you need to enter the lottery system early and be prepared to not get the permit you want.
Here are some helpful links on JMT permits:
- Permits: Getting the Golden Ticket
- JMT Rolling Lottery Application: Yosemite Conservancy
- JMT Permits: Pacific Crest Trail Association
- Wilderness Permits for John Muir Trail Hikers: National Park Service (NPS)
- How to Apply for a Southbound John Muir Trail Permit in 2022
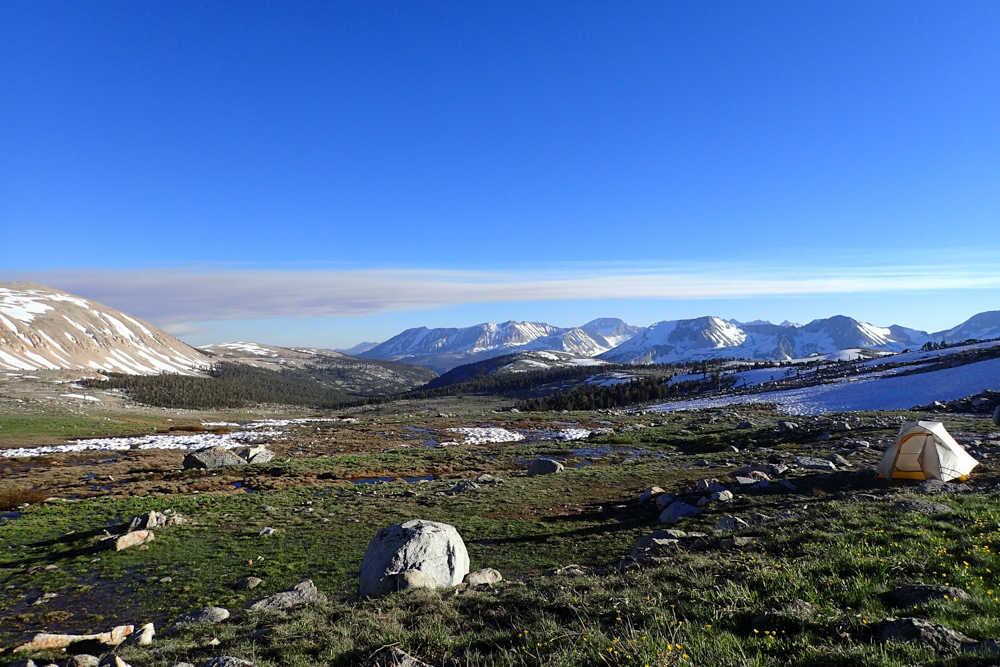
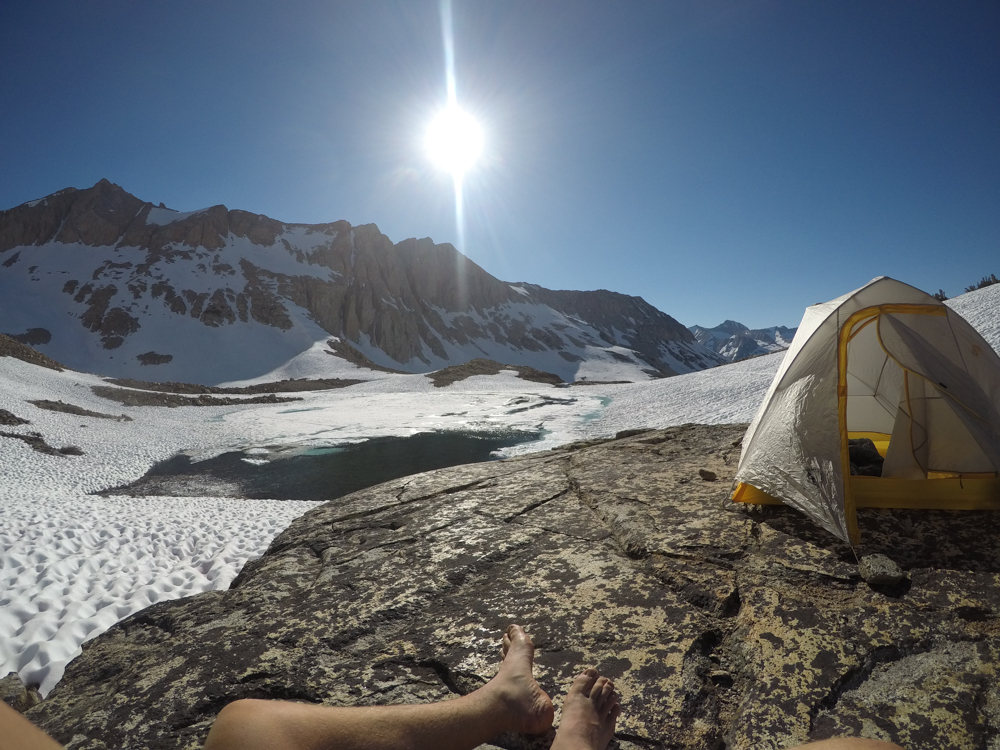
The Snowpack Varies GREATLY from Year to Year!
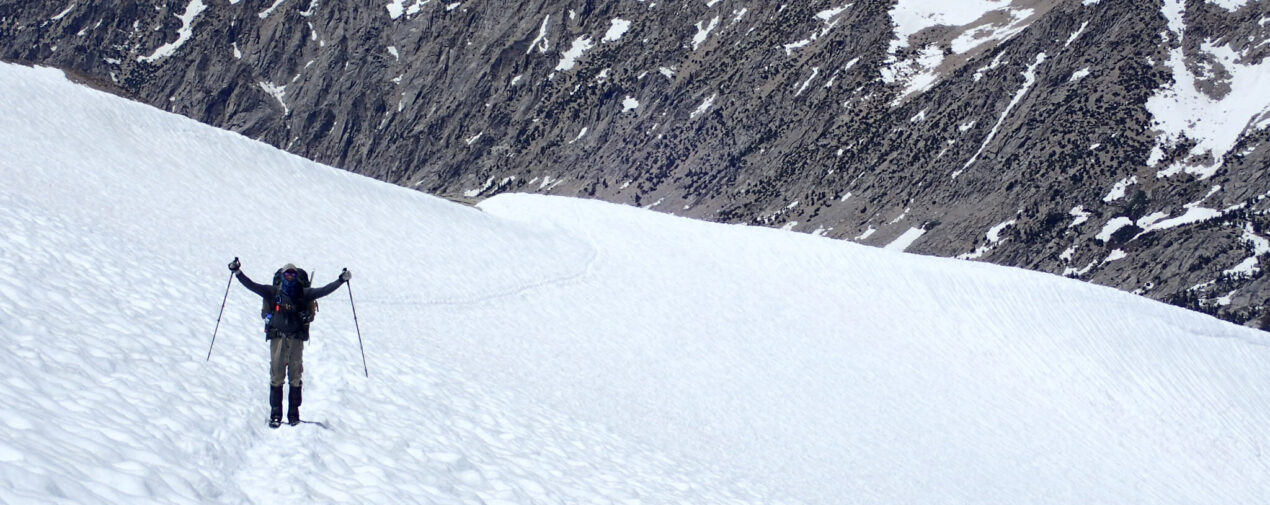
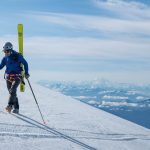
You will be traveling in high-alpine where you WILL be moving across snow…the amount of snow will just depend on the year.
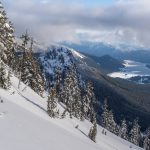
This will not be a typical hike where the trail is consistent throughout. The JMT crests high-mountain passes over 12,000’ where snow remains most of, if not all of, the year. In recent years, the snowpack in the High Sierra has varied greatly. For example, 2017 was a record snow year where the Sierra received near all-time high snow totals. Many parts of the JMT were snowbound into late June and early July. Hiking the trail in 2017 was closer to a mountaineering trip than a ‘hiking’ trip. Conversely, there have been years of drought where the trail melts out quickly and is reduced to dirt and bare rock, allowing for simpler travel conditions.
You will have to consider the snowpack for two main reasons:
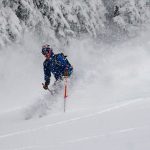
- You will want to consider bringing ice axes and microspikes for travel across snowy and icy sections.
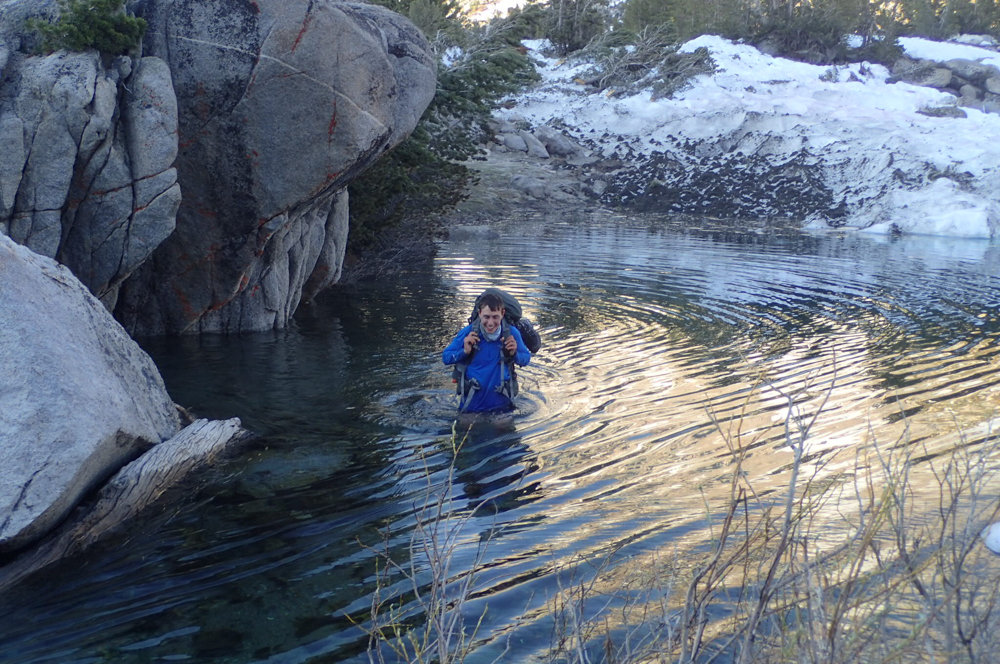
- The snowpack depth will influence water sources and their availability throughout the summer.
For point A, make sure you are comfortable with crampons and self-arrest. There are sections of steep snow travel, such as Mather Pass and Forester Pass, where a slip could be consequential.
For point B, depending on your time of year rivers and creeks could either be treacherous, knee-deep crossings (such as Bear Creek) or dried up creek beds where you will not be able to get water. These are two extreme ends of the spectrum, but the point remains the same: monitor the snowpack.
Here are some helpful resources for monitoring snow conditions:
- California Snowpack, % of April 1 Average
- California Department of Water Resources, Data Exchange Center
- NOAA Snow Water Equivalent Map
Afternoon Thunderstorms are Common…Plan for Them!
Be ready for early starts and early finishes in the sierras, as afternoon thunderstorms are common and dangerous.
Many of the high mountain passes of the JMT are exposed for many miles on either end of the pass. Traditional guidance is to travel through these exposed areas in the mornings, both to avoid thunderstorms and to take advantage of firm snow conditions. It’s quite common for thunderstorms to develop in the Sierras during the afternoons and continue into the early evening hours. Some hikers opt to start early, take a nap in the afternoon during stormy hours, and then hike in the late evening to get in a few more miles.
Regardless, avoid traveling the mountain passes or peaks during the afternoons if you can. There have been deaths on the summit ridge of Mt. Whitney due to lightning strikes in the past. There’s even a plaque on the trail crest discussing lightning hazard.
Think through your resupply spots…especially in the southern half of the trip.
Unless you’re doing the JMT in a <8 day push, you’ll need to resupply on food. The northern half of the trail passes through Tuolumne Meadows and Red’s Meadow Resort, which are easily accessible and have stores to purchase food. You can even hike out to Mammoth Lakes, which is a full town.
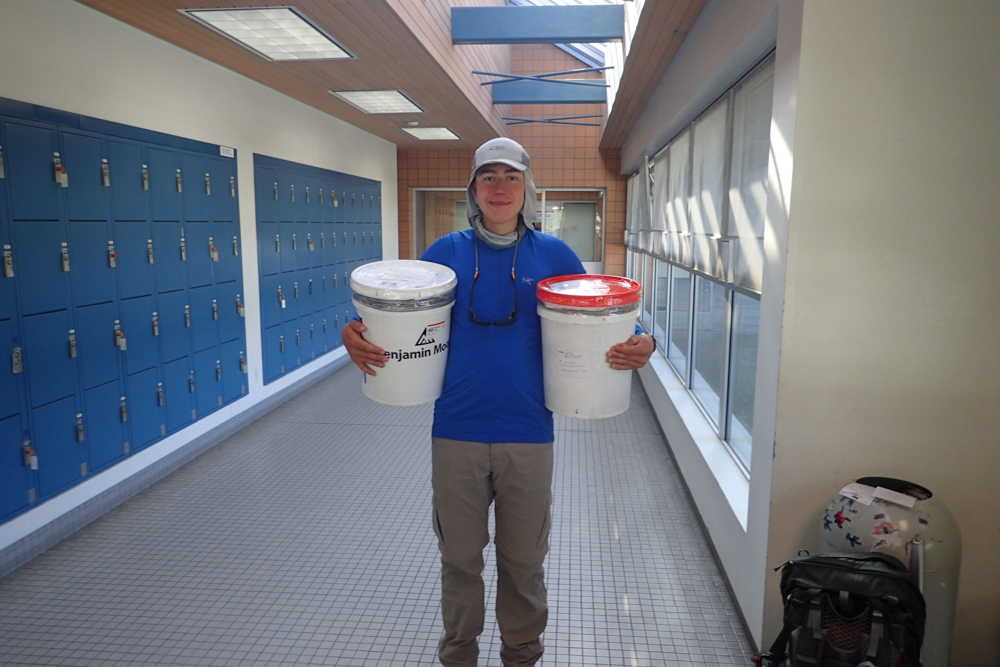
But the southern half of the trail is more remote and more of a logistical challenge. You will likely want to mail yourself a ‘resupply box/bucket’ with food items you know you like; otherwise, you’ll be at the mercy of what is available for purchase at rural stock stations like Muir Trail Ranch and/or Vermillion Valley Resort.
There are hiker services that will bring supplies into a remote location for you, such as Rainbow Pack Outfitters or Sequoia Kings Pack Train. They are expensive and require advanced planning.
Long story short, list out the days of food you will need and dive into where you will resupply. In the southern half you can hike out to towns of Bishop and Independence through Bishop Pass and Kearsarge Pass, respectively. If you opt to hike out to one of these towns, stay a night in a motel to rest up, take a shower, and enjoy some food in town. It’ll be worth it.
Resources:
- Tuolumne Meadows
- Reds Meadow
- Vermillion Valley Resort
- Muir Trail Ranch
- Sequoia Kings Pack Train
- Rainbow Pack Outfitters
Utilize Public Transportation…before and after
Starting and ending a thru-hike can be tricky with just getting there and getting home. You’re not going to rent a car, dump it at Yosemite, and then go pick it back up. So how are you going to get there?
Thankfully, California has a great public transportation network that can get you to and from the end of the trail.
Yosemite has an incredible bus system that can take you from Fresno, Merced, Mammoth Lakes, or Sonora right to the Yosemite Valley.
- If you’re flying into San Francisco, you can take a Greyhound bus from SF to Fresno, then hop on a YARTS (Yosemite Area Regional Transportation System) bus from Fresno to Yosemite…BOOM!.
- If you’re flying into Reno, hop on an ESTA (Eastern Sierra Transit Authority) bus from Reno to Mammoth Lakes, stay the night, then hop on a bus to Yosemite!
On the eastern side of the trail the ESTA runs buses from Reno to Bishop, Lone Pine, Independence, and all the way down to Los Angeles.
- If you’re traveling from LA to start the trail NOBO, ESTA will be your first stop. You can take a train to Lancaster and then hop on a bus to Lone Pine.
- If you’re traveling SOBO and ending your hike at Whitney Portal, you can likely hitch a ride out of Whitney Portal down to Lone Pine. From Lone Pine, you can hop on a bus to Lancaster, then take a trail to LAX to fly home.

You don’t need to rent a car or pay for an expensive private shuttle service. California public transportation will have you covered!
Wrapping It All Up
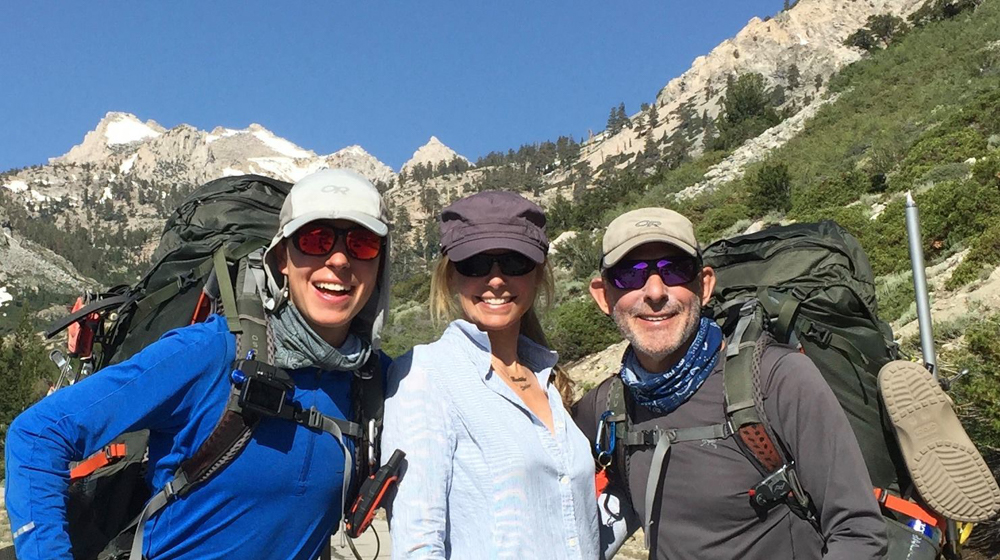
However you choose to hike through the High Sierra, you will have an amazing experience! The John Muir Trail travels through the heart of the Sierra and brings you to many of the highlights, such as the Rae Lakes, Evolution Lakes, and Yosemite Valley. Whether you spend a day, a week, or a month on the trail, you’ll need to plan for it…here are some more useful resources to get you on your way!
- Join the JMT Facebook Groups! These forums can be a great way to meet people who will be on the trail and learn from past experiences.
- Reach out to Andrew Skurka to schedule a planning session! Andrew is an expert backpacker and his 1:1 consults are a great way to get valuable insight and point you in the right direction.
- Read through the John Muir Trail hiker information guide created by the Pacific Crest Trail Association (PCTA). It has a lot of great info, links, and testimonials!
And don’t hesitate to reach out to me directly! I’m always happy to provide my experience and thoughts. Reach out to me at [email protected].
About the Gear Tester
Sam Chaneles
Sam Chaneles is an avid mountaineer and backpacker, climbing peaks in the Cascades, Mexico, Ecuador, and Africa, as well as hiking the John Muir Trail and off-trail routes in Colorado. He has climbed peaks such as Aconcagua, Mt. Rainier, Cotopaxi, Chimborazo, Kilimanjaro, and many more. Sam graduated with a B.S. in Mechanical Engineering from Georgia Tech. During his time there he was a Trip and Expedition Leader for the school’s Outdoor Recreation program (ORGT). He has led expeditions to New Zealand, Alaska, Corsica, France, and throughout the United States. Sam is based in Issaquah, WA just outside of the Cascade Mountains. You can follow Sam and his adventures on Instagram at @samchaneles, or on his website at www.engineeredforadventure.com.
-
Sam Chaneles#molongui-disabled-link
-
Sam Chaneles#molongui-disabled-link
-
Sam Chaneles#molongui-disabled-link
-
Sam Chaneles#molongui-disabled-link