Tape Glove Techniques for Beginners
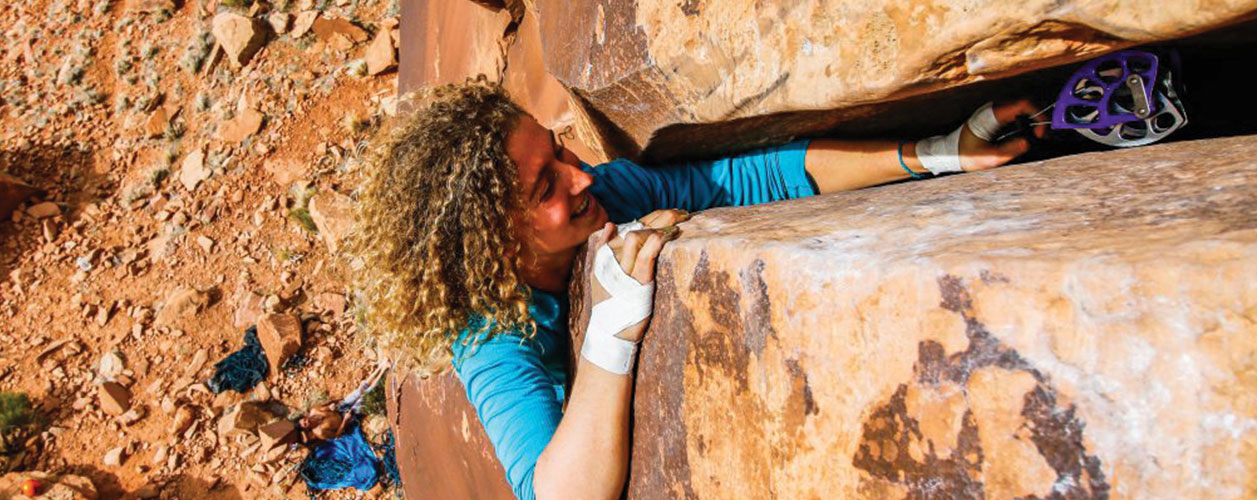
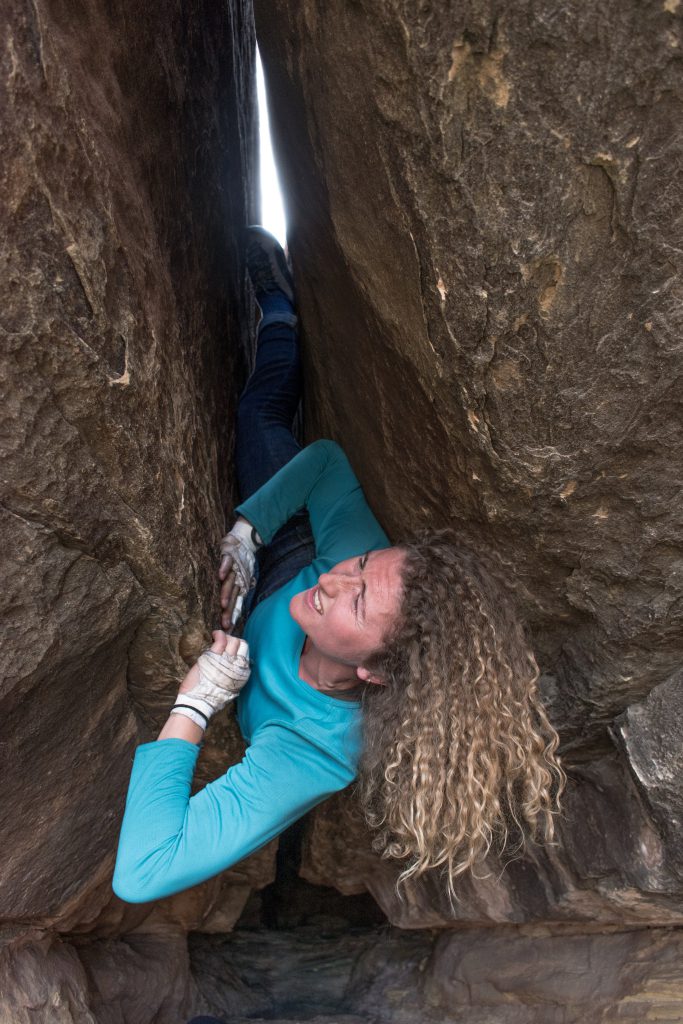
It’s Creek season everyone! Indian Creek: The birthplace of realizing it is somehow more fun to sandpaper your hands to bloody stumps than it is to crank hard on crimps. Indian Creek is a trad climbing paradise where the gear is (almost) always bomber, the temperatures are amazing, and on the weekends, the crags are full of bros from Boulder, Colorado.
With the onset of Creek season also comes the realization for many that they have no idea how to make tape gloves, and that they desperately need to learn how.
Today, I’m going to show you three ways to make tape gloves for beginners.
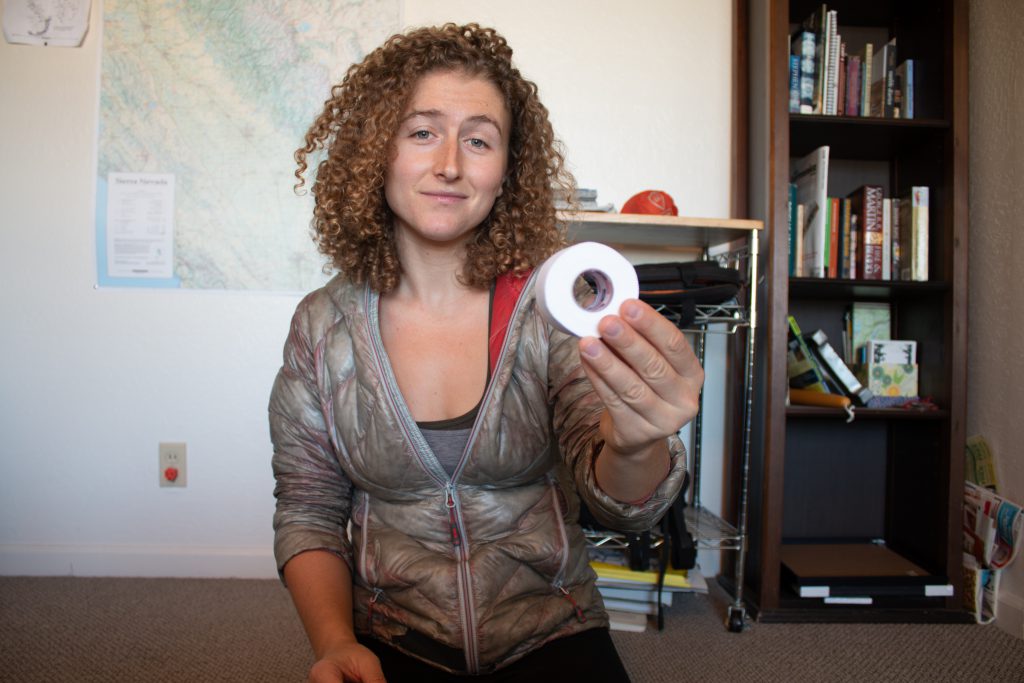
Basic, everyday tape gloves.
These gloves are the gloves to start on if you’ve never taped before. They are a bit complex to make at first, but once you master them you can reuse them for an entire season. They will also give you excellent full hand coverage.
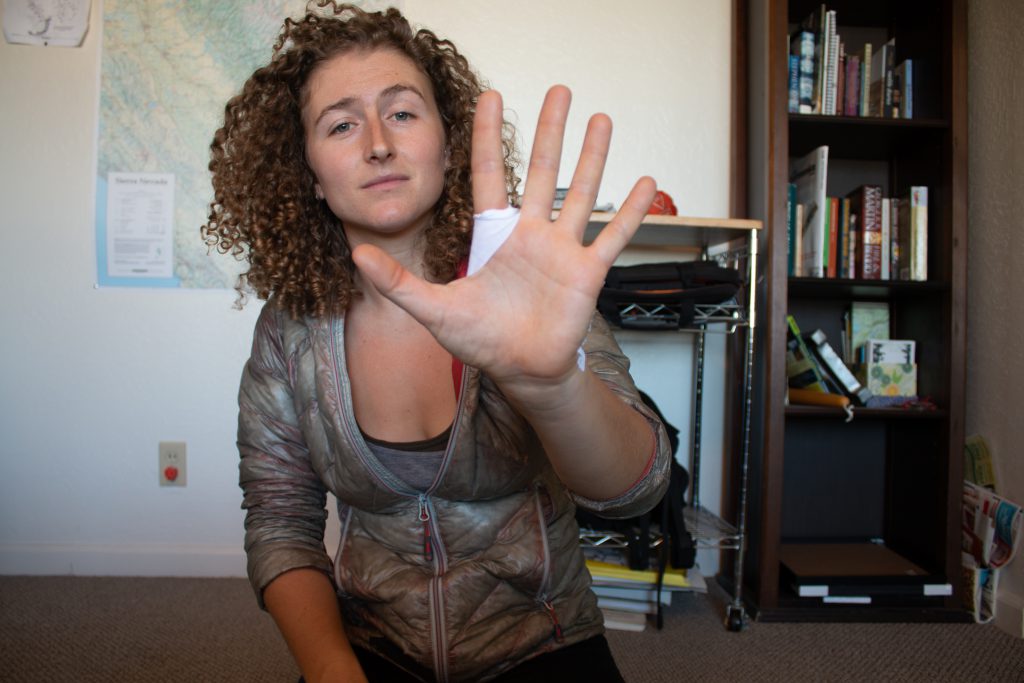
Step 1: Tear off three strips of tape as wide as your hand from index knuckle to pinky knuckle and lay them against the back of your hand. You should be able to cover the back of your hand from knuckles to the wrist.

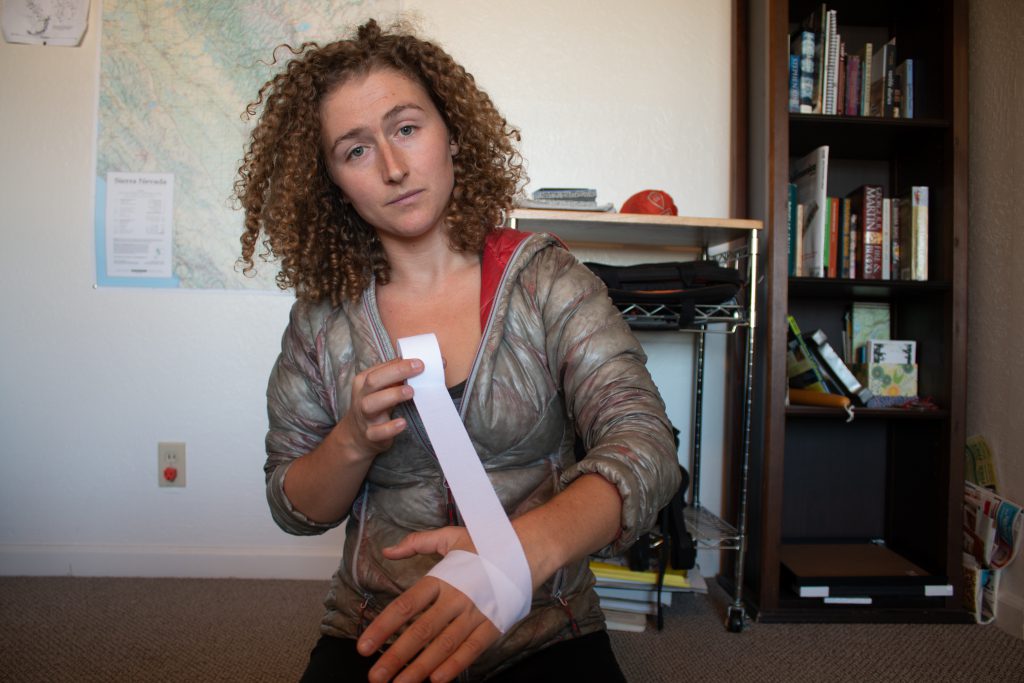
Step 2: Tear off 4 strips of tape approximately 12 inches long. They will be shorter if you have small hands, and larger if you have large hands. Either way, it’s better to make them too long than too short. You can always shorten your tape, but you can’t lengthen it.
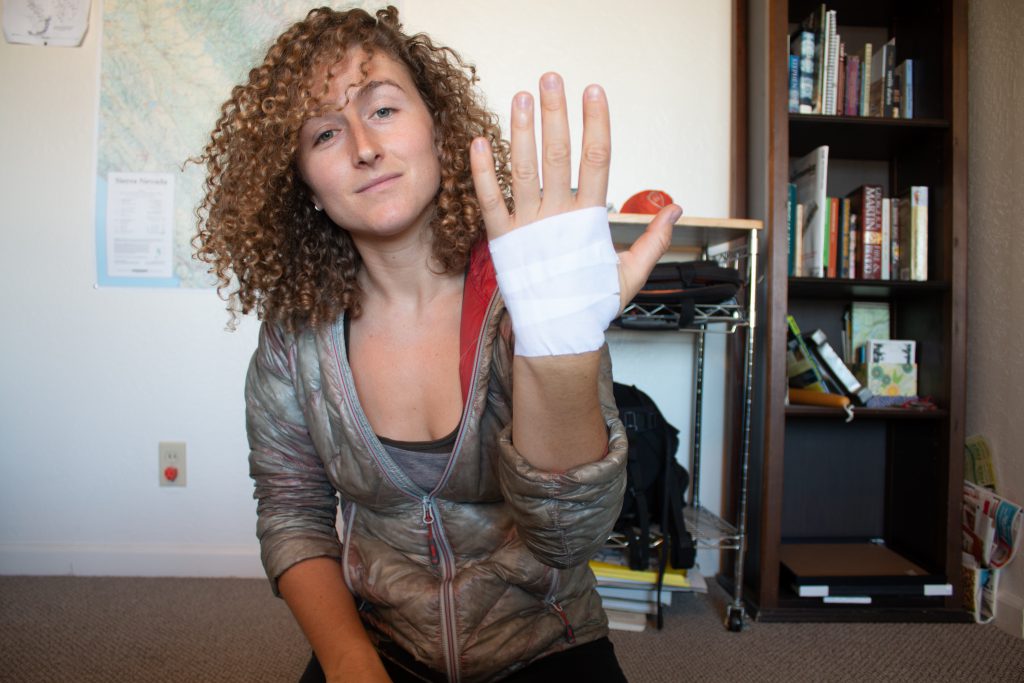
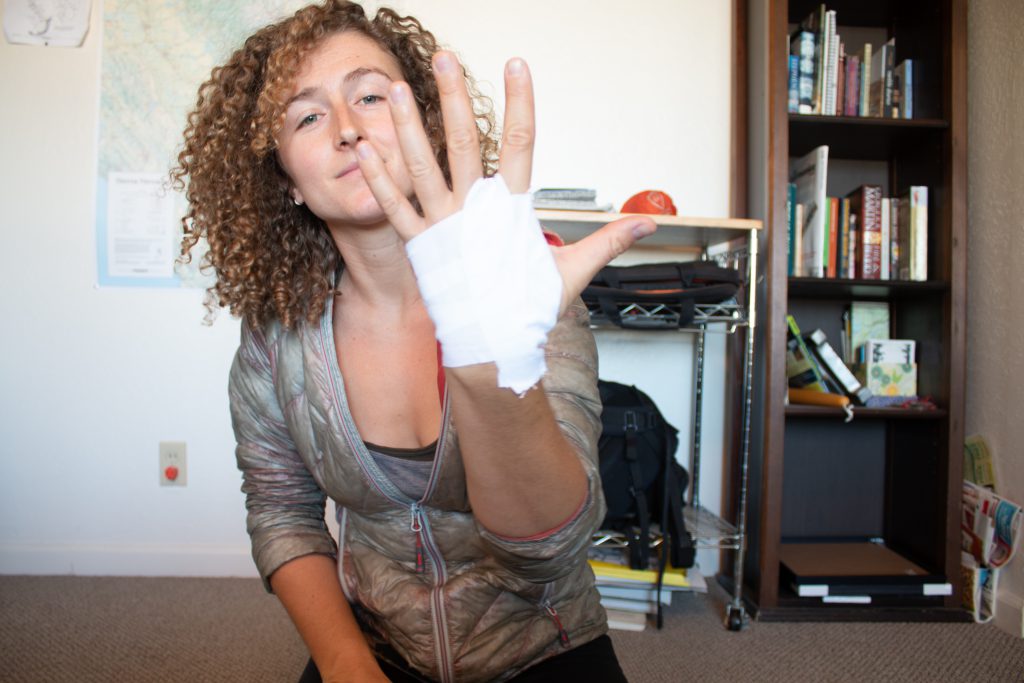
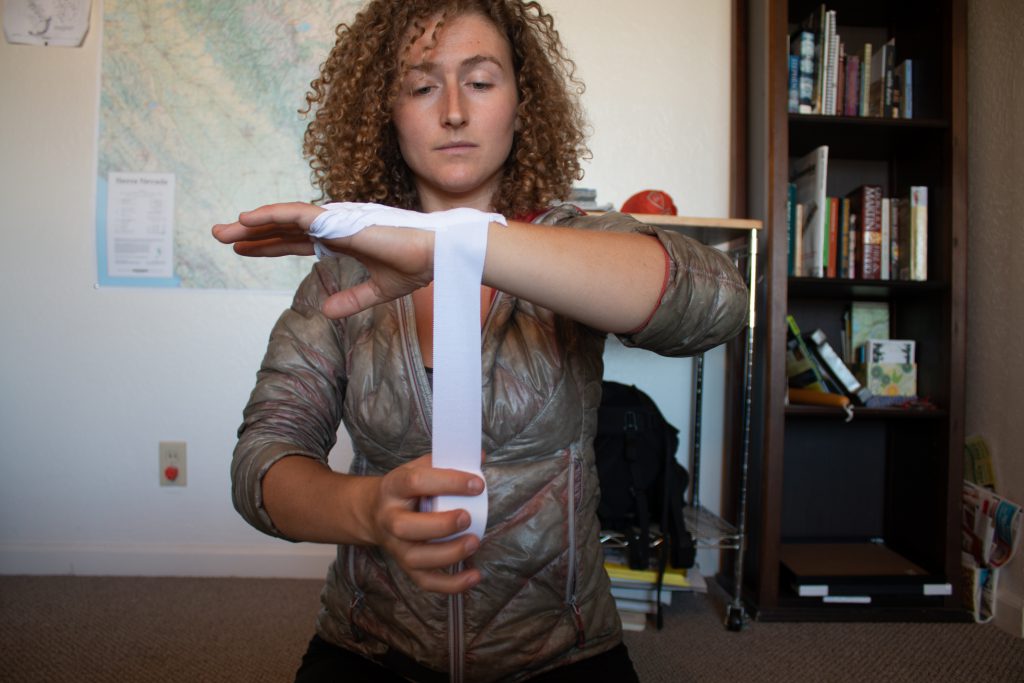
Step 3: Wrap these 12-inch strips of tape from the wrist, around your pointer finger and then back down between your pointer and middle finger to meet back up at your wrist. Do this wrap from the wrist, around finger and back to wrist, for each of your fingers. Take extra care to make sure there are no wrinkles, and that the tape lies as flat as possible against your hand.

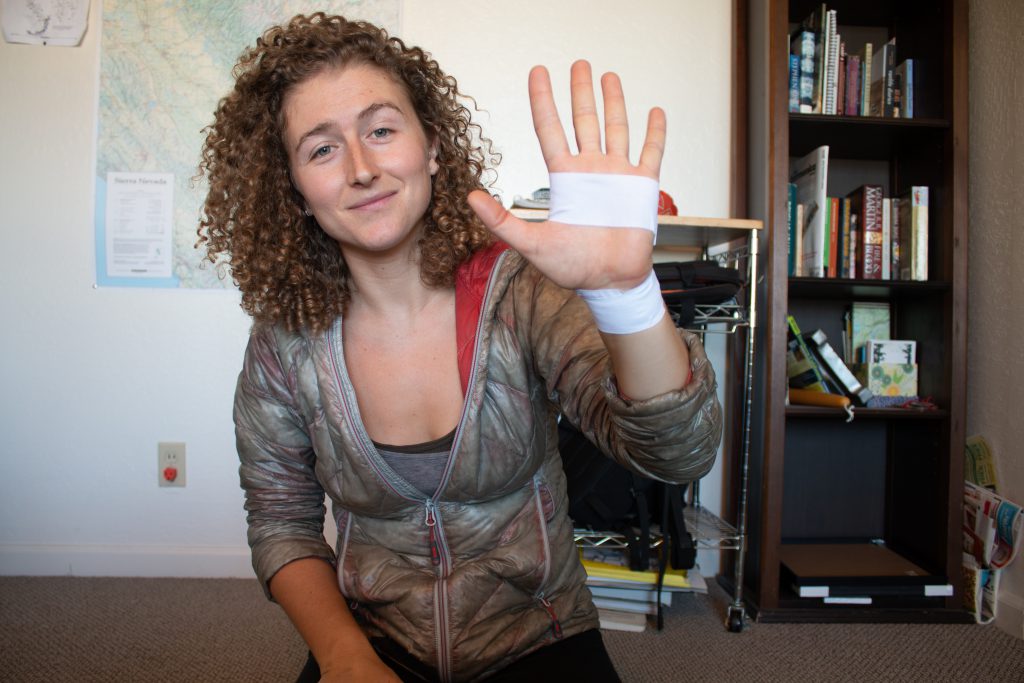
Step 4: Once the back of your hand is completely covered, take a final piece of tape around your wrist. NOTE: It is really important that you don’t make this strip too tight. If you do, you can cut off circulation to your hands and get super pumped while climbing.
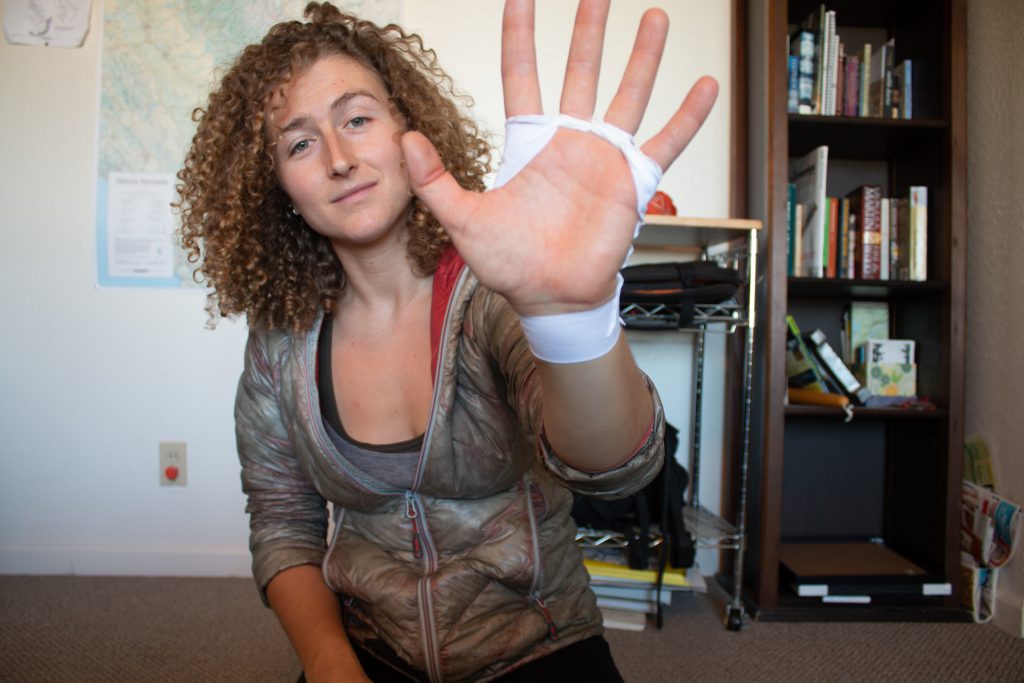
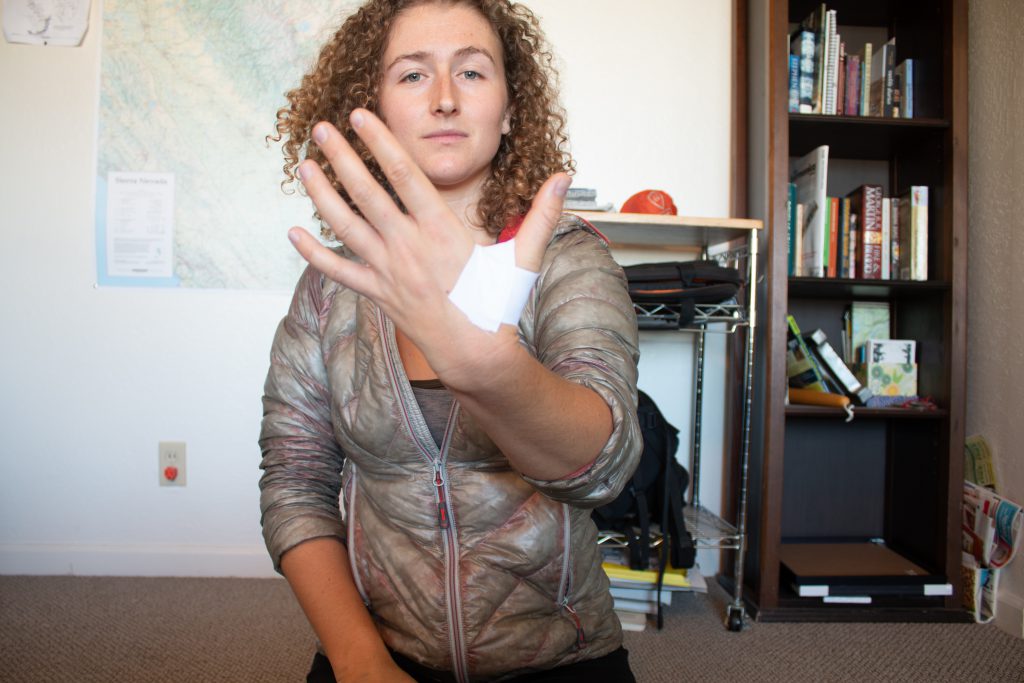
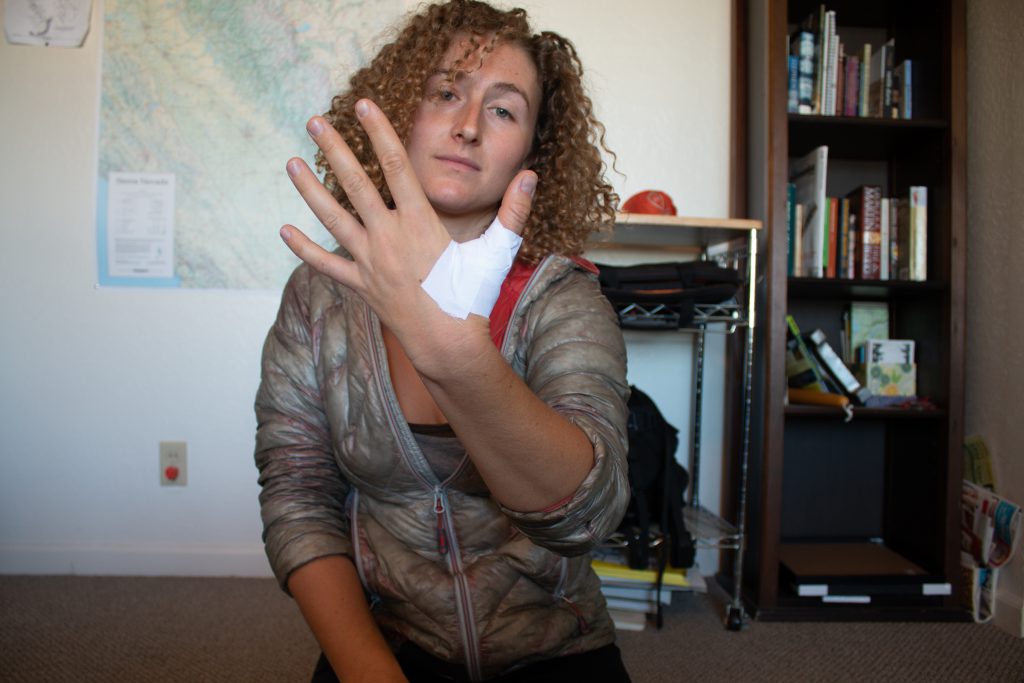
Step 5: Flex your hands and see how they feel! Make sure they aren’t too tight and don’t have too many wrinkles. If they do, start over!
Fast and lazy tape gloves
These are my favorite tape gloves if I’m climbing something short and easy, and I don’t want to spend time making a whole new pair. I’ll do these gloves quickly for a few short laps. They don’t last very long, so I wouldn’t recommend these for a full day of cragging, or for a climb that’s really difficult.
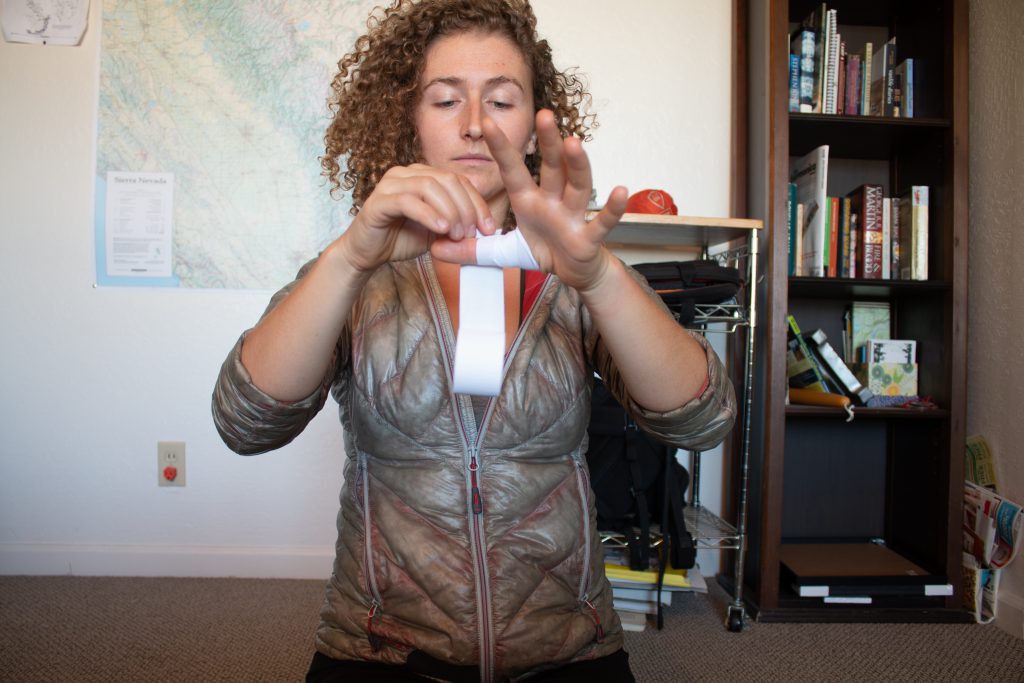
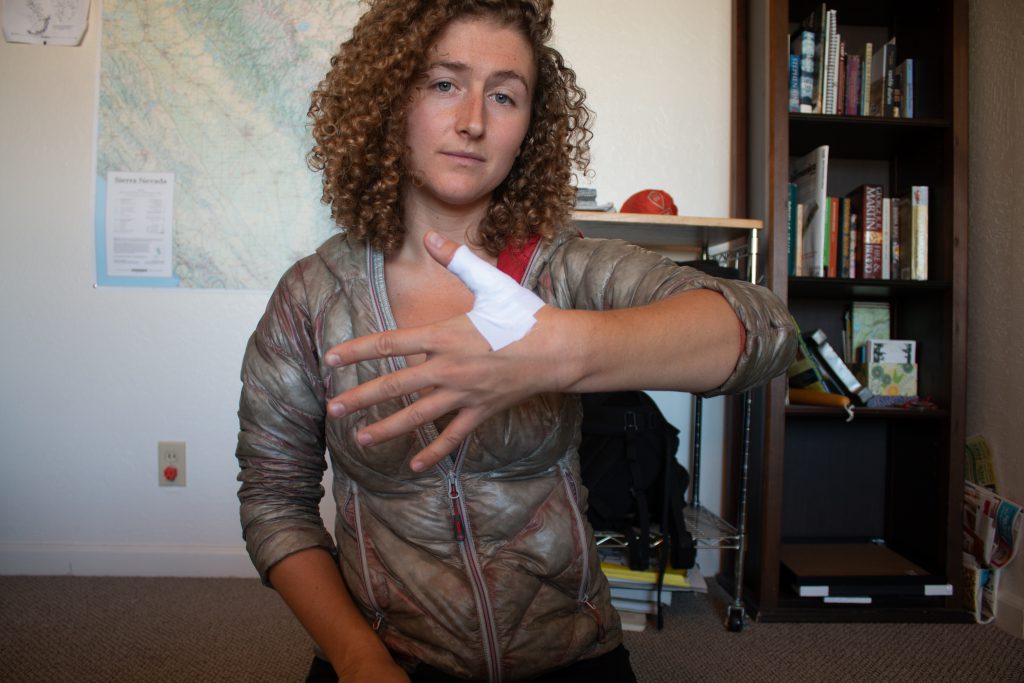
Step 1: Pull out a long strip of tape and stick it to the outer edge of your hand below your pinky. Then pull the tape along the back of your hand and completely circle your palm.

Step 2: Using the same long strip of tape (don’t cut it), wrap the strip diagonally over the back of your hand towards your wrist.
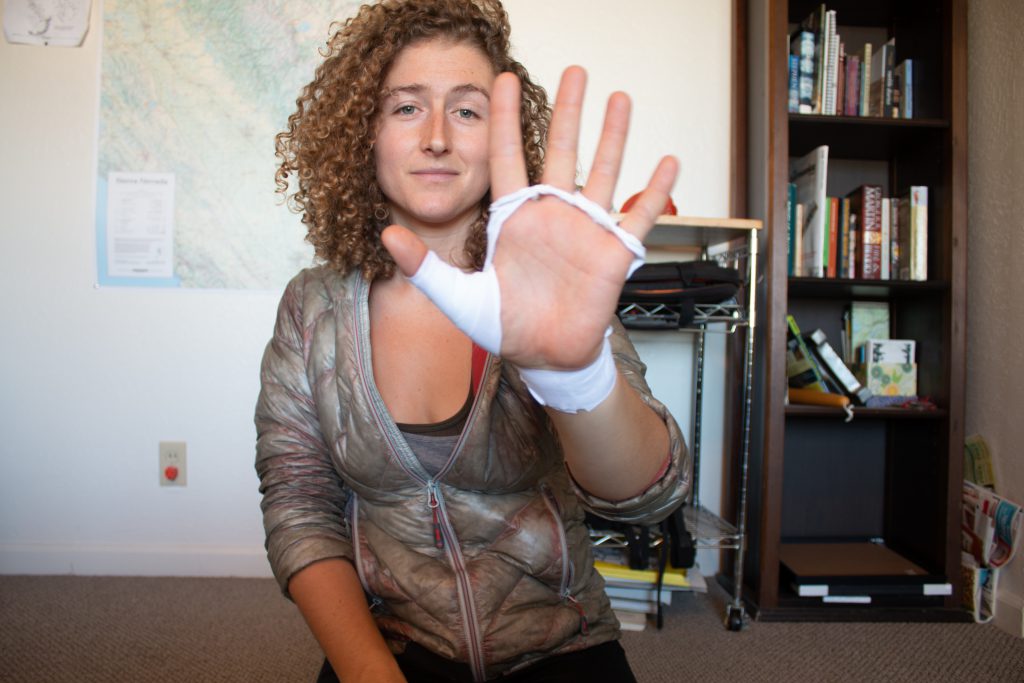
Step 3: Finally, loop the tape around your wrist and tear it off. Boom! Fast and lazy tape gloves.


Offwidth Gloves
There are a lot of different ways to tape for offwidth. It will vary depending on the type of rock, and the style of offwidth. Some people make new offwidth tape gloves each time, and some people reuse them over and over again. I personally like the reusable gloves, so I’m going to show you my basic offwidth tape gloves.
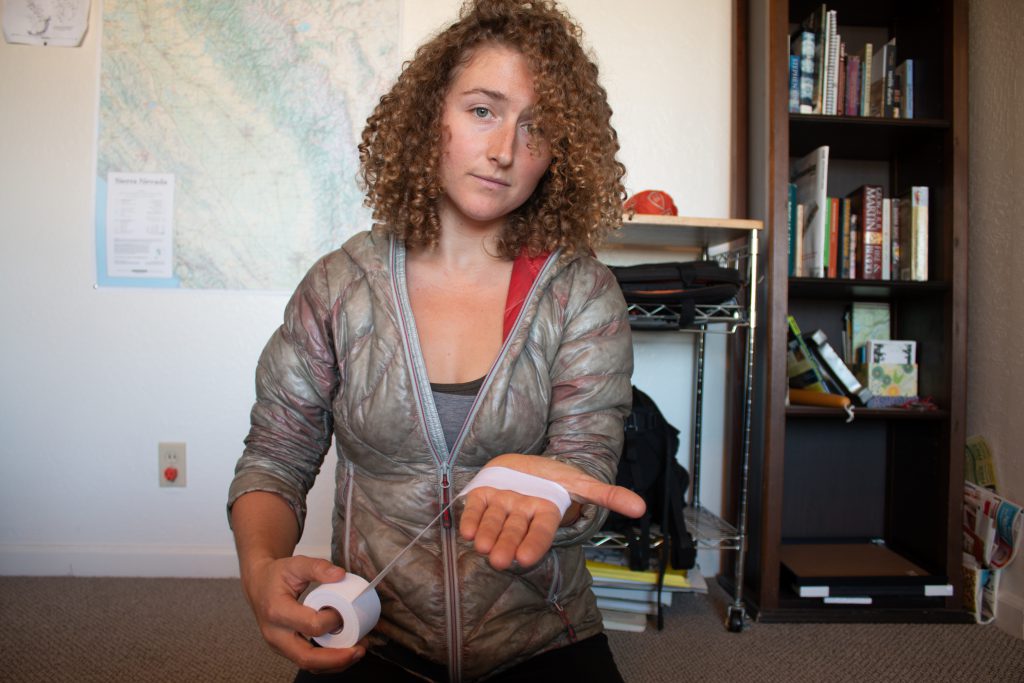
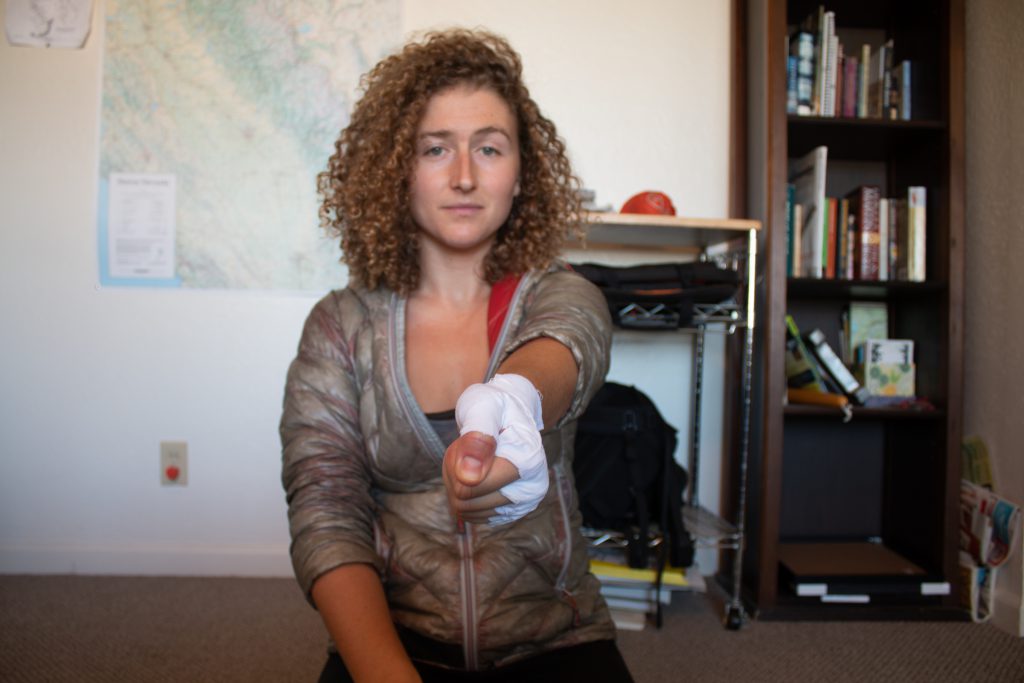
Step 1: Lay a piece of tape against the back of your hand, close to the lowest knucklebone of your thumb. Wrap the piece of tape around the meat of your thumb and around through the space between your thumb and pointer finger until you’ve created a full loop around your thumb.

Step 2: Take another piece of tape and wrap it around your thumb loosely, right above your previous piece of tape. Do this step one more time with a third and final piece of tape. Your thumb should be completely wrapped in tape at this point. Like a little mummy!
Step 3: Now, make tape gloves just like you would for normal reusable gloves. See above at ‘Basic, everyday tape gloves’.
Conclusion
Tape gloves are a necessity when starting out crack climbing. Some people eventually stop taping, claiming that they have better technique without it. Some people tape for their whole lives, claiming they have better technique with it. Personally, I like my tape gloves and I use them whenever I can. If you want to see a few more ways to tape your hands, check out Steph Davis, Beth Rodden and Tom Randal’s videos on how they like to tape their hands.
Happy jamming!
If you’re more of a glove climber, take a look at this review of Outdoor Research gloves for options, or head to Outdoor Prolink to purchase crack gloves. Not a member? Apply today!
Kaya Lindsay is the social media coordinator for Yosemite Facelift. She is also a writer and photographer with a passion for rock climbing and the outdoors. In 2016 she converted a Sprinter Van into a tiny home and has been traveling around the US & Canada to pursue her passion for rock climbing ever since. You will most likely find her in a parking lot or coffee shop, camera in hand, planning her next grand adventure. Connect with her on Instagram @OneChickTravels
About the Gear Tester
Kaya Lindsay is a writer, photographer, and filmmaker with a passion for rock climbing and the outdoors.
In 2016 she converted a Sprinter Van into a tiny home and has been traveling around the US & Canada to pursue her passion for rock climbing. Since hitting the road she has begun a career in filmmaking and is currently working on her One Chick Travels series, highlighting solo female travelers who live and work to pursue an adventurous lifestyle. Her films have been highlighted by major brands such as Backcountry and Outside TV. To fulfill her passion for writing, she chronicles her many adventures in her blog. Professionally, she writes for the adventure sports company Outdoor Prolink and The Climbing Zine. Kaya hopes to spend many more years in her tiny home on wheels, Lyra, and is currently living in Moab Utah.
-
Kaya Lindsayhttps://blog.outdoorprolink.com/author/kaya/
-
Kaya Lindsayhttps://blog.outdoorprolink.com/author/kaya/
-
Kaya Lindsayhttps://blog.outdoorprolink.com/author/kaya/
-
Kaya Lindsayhttps://blog.outdoorprolink.com/author/kaya/