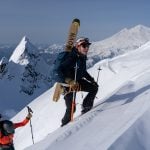
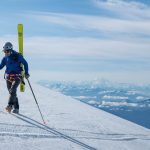
The 5 Fundamentals of Adventure Photography
Photography has become far more accessible in the last 15 years, thanks in large part to the technological improvements of the phone camera. These days, iPhone cameras are incredibly powerful and can capture some amazingly crisp and captivating images.
The fundamentals of photography, however, have nothing to do with the hardware you use to capture a scene. Whether you have a $5,000 full-frame mirrorless camera or a smartphone digital zoom lens, you can benefit from understanding and practicing these five fundamentals of photography:
- Composition
- Lighting
- Action
- ISO
- Texture
1. Composition
There are plenty of books and formal photography classes about composition and how the human eye responds to images, but the long story short is: make the eye work. The human eye is extremely quick at interpreting stimuli and as a photographer, you want your viewer to interact with your image for more than just a split second.
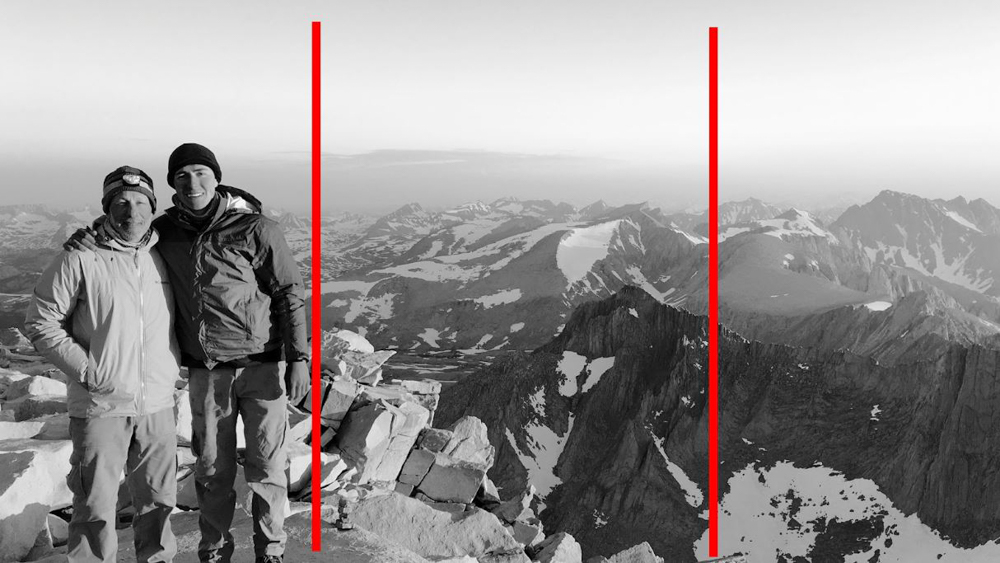
Rule of Thirds
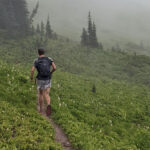
Per Adobe.com, “the rule of thirds is a composition guideline that places your subject in the left or right third of an image, leaving the other two thirds more open.”The concept is to avoid positioning your subject in the center of the photograph. There is science behind this rule, but the simple explanation is that your eye searches more of the picture for your subject. There ARE exceptions to this rule, as with every rule. For example, portraits are most often done with the subject front-and-center.
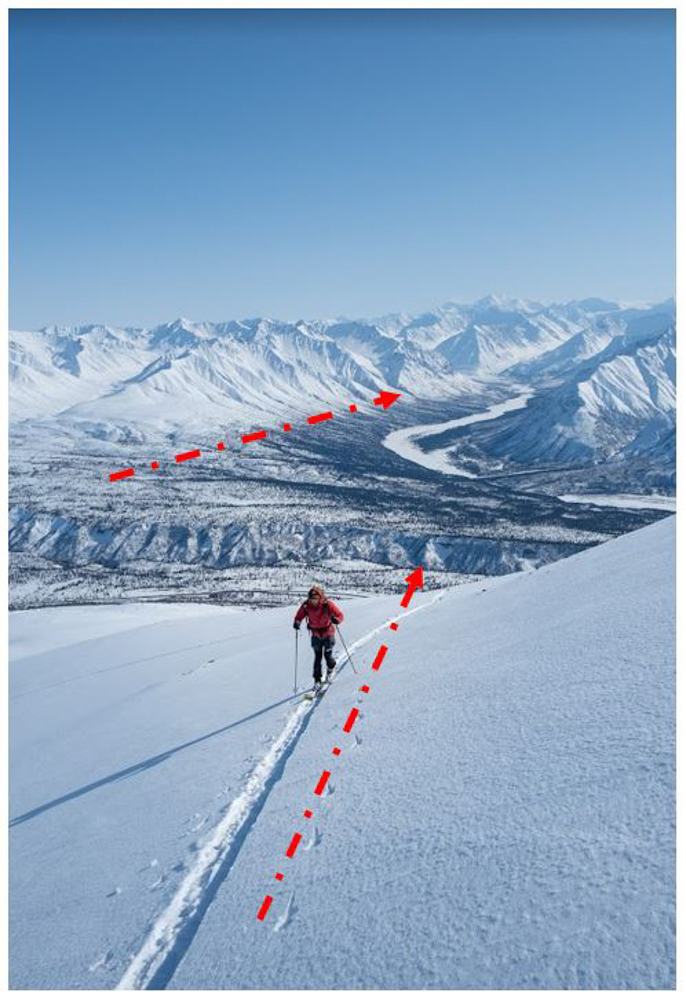
Leading Lines
Leading lines can be any visual cue that draw the eye to a particular portion of the photograph. For example, a tree trunk, a river valley, etc. The eye will naturally follow these leading lines and sweep across the picture to the terminus of the leading line. Think through where you are guiding the eye in your picture…to your subject? Away from your subject?
2. Lighting
Photographers are OBSESSED with light…in a nerdy way. You may hear your photographer friends refer to “harsh” light, “golden” light, or even “backlight”. Let’s dive into what those mean…
Harsh Light
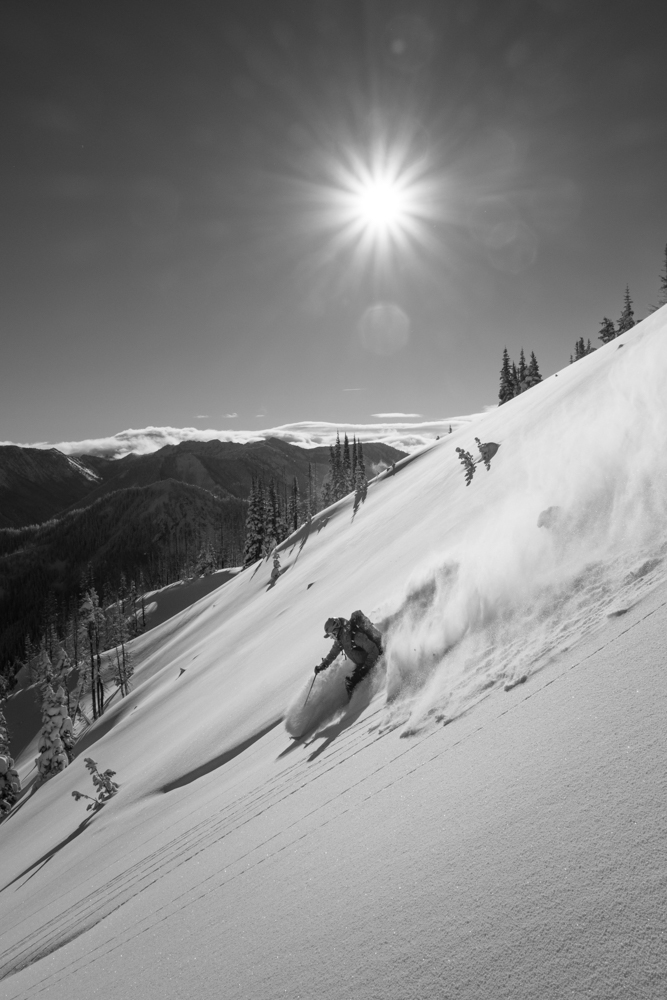
Harsh light refers to light that comes from overhead, most often during the middle of the day. The lighting is “harsh” because it casts a vertical shadow on your subject and often leads to “haze” in horizons and landscapes. “Harsh” light most often occurs during the middle of the day, especially on sunny and clear days in the summertime.
“Golden” Light
Golden hour often refers to the post-sunrise morning and pre-sunset afternoon hours when the light is seemingly “warm” or “golden”. The light is much more shallow, meaning the sun is lower in the sky than during the middle of the day. “Golden” light often leads to deep shadows and very soft textures on your subject.
Backlight
Backlight occurs when the source of light is behind your subject. You want your subject to appear brighter than the background behind them; otherwise your subject will appear dark and undefined. You want to have your subject facing the sun, with the sun behind the photographer. You won’t always have this option, as sometimes the scene you want to portray is in front of the sun; if this is the case, try and make the angle as “oblique” as possible, meaning try and get as close as you can to having the sun in front of your subject. “Side-lighting” can be much better than backlighting and can create interesting, deep shadows that add drama to your image.
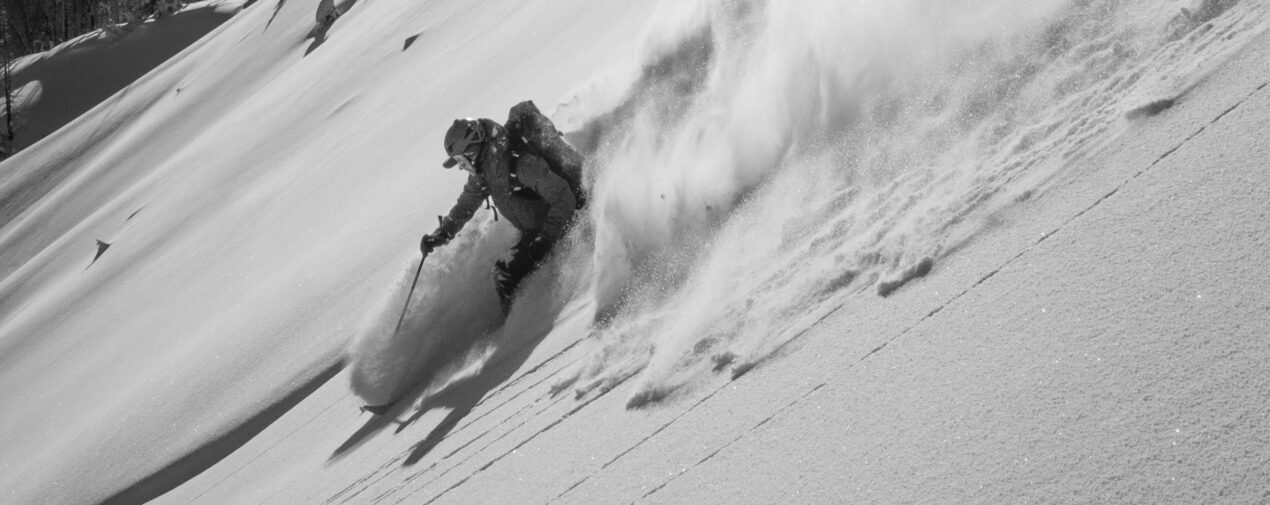
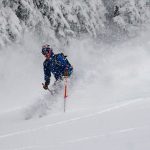
3. Action
Not all pictures involve action…there is an entire genre of landscape photography that is completely absent from it. But…there are some important concepts to shooting action photography:
Natural Motion vs. Posing
No matter how good of an actor you may have, natural motion looks much better than a pose. The body is much more comfortable in motion than stationary. If you want to simulate a particular action, just have your subject perform the action and take a series of pictures to capture the entire sequence. Chances are you will get a more realistic portrayal of the pose.
Shutter Speed
The human eye can tell a difference between different shutter speeds, up to a certain point. If you have a moving subject and want everything in focus, you want to try and keep your shutter speeds above 1/500 second. While the human eye can’t tell much of a difference between 1/180 and 1/500, there will still be more crispness with your stop motion the more granularly you increase your shutter speed.
4. ISO/Aperture/Shutter Speed Triangle
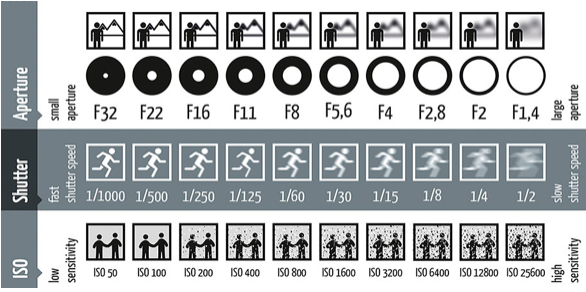
ISO refers to your camera’s sensitivity to light. In the “old days” it referred to the chemical reactivity in the film your camera used, but these days with digital cameras it refers to your sensor’s reactivity to light and how it interprets it within a RGB colorspace. ISO most directly impacts the “grain” in your picture: a lower ISO is more “crisp”, whereas a higher ISO is more “grainy”.
Aperture refers to how wide open your camera’s lens is when the shutter is opened. Think of it like the pupil of your eye…the wider the lens is opened, the lower the aperture value (it works backwards). Conversely, the smaller the opening, the higher the aperture value. Aperture most directly affects depth of field: a higher aperture (narrower) will lead to a deeper field in which the picture is in focus, whereas a lower aperture (wider) leads to a shallower photograph where the foreground is in focus but the background is blurred. Most stock lenses have a narrower range of aperture, typically f/4.5-f/22, as aperture is greatly impacted by how much glass your lens has. Professional photographers will pay THOUSANDS of dollars for low aperture lenses. Typically f/4.5 is the lowest a “stock lens” will go; more expensive lenses will get down to f/2 or f/1.8.
Shutter Speed refers to how long the shutter is opened on the lens to let light in. It is measured in fractions of a second. The longer the shutter speed, the more light that is let in. Shutter speed most directly impacts action shots where there is a moving subject. However, it also has an impact during low light situations with richness of color. The longer light is let into the sensor, the more concentrated the colors can be.
—
Most often you will want to keep a low ISO to retain crispness in your picture, and you will vary your aperture and shutter speed according to the kind of picture you are trying to take. Most lenses will have some level of distortion at the extreme ends of their aperture limit, so for best quality try and keep your aperture close to the middle of your lens’ range, usually around f/8.
- Low aperture, such as f/2 or f/4, will be great to create a shallow depth of field, such as in portraits or close-ups of flowers. Utilize the wide aperture to let in a lot of light close to the lens and create a crisp foreground with a blurred background. A classic example of a low aperture picture would be a headshot or a photo of a bee on a flower.
- Higher aperture, such as f/16 or f/18, will be great for solar flares and high exposure pictures when you want to let in a small amount of light to avoid over-exposing the subject. A classic example is at sunrise or sunset when you want to shoot right into the sun and get that classic “solar flare” effect.
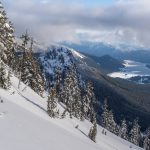
5. Texture
Have you ever seen a picture that made you ‘feel’ something? The morning dew on a leaf? The hoar frost of fresh snowfall after a clear night? The moss on a rock?
Texture just adds character to your photograph…it’s not easy to find, but when it’s there make sure to take advantage of it. Texture can come in many different forms, such as:
Clouds
Ever notice that sometimes a clear blue sky can be a dull background? That’s because it lacks texture. Some of the landscape photographs involve clouds of some sort. High, wispy clouds make for a great backdrop. They add depth, texture, and most of all, dramatic lighting. High clouds often absorb ‘alpenglow’ during sunrise and sunset, which makes for an incredible scene! Clouds add texture to your photograph.

Waves
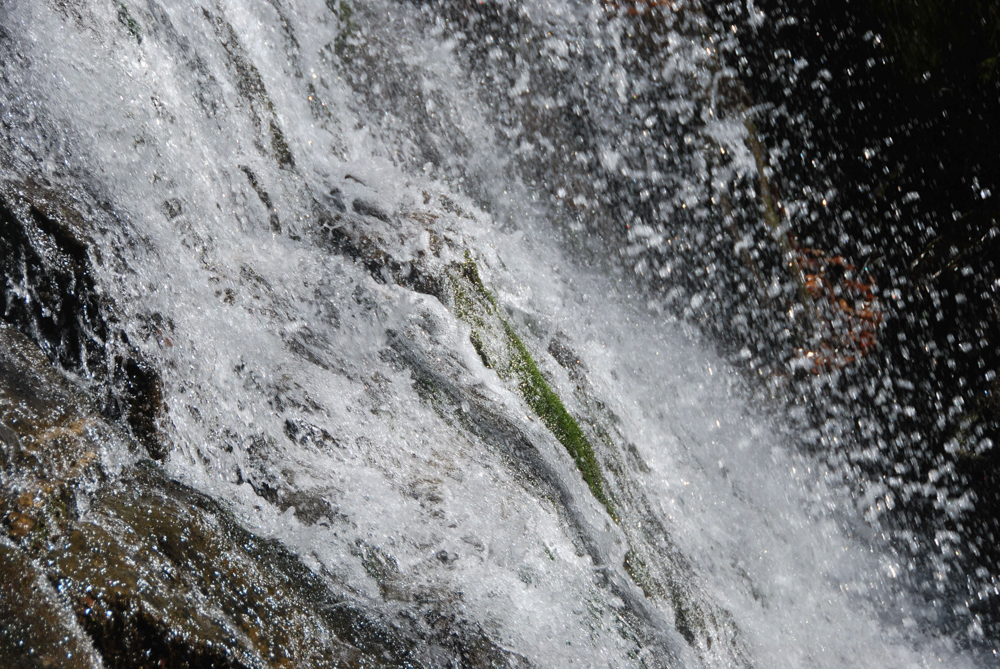
Lake and ocean photography can be stunning, especially with dramatic waveforms. A still, calm body of water is great for reflections, but waves can add texture and ‘feeling’ to your photograph. Even though a picture is motionless, a waveform exudes the feeling of motion…you can feel the water moving through its natural progression.
Dirt
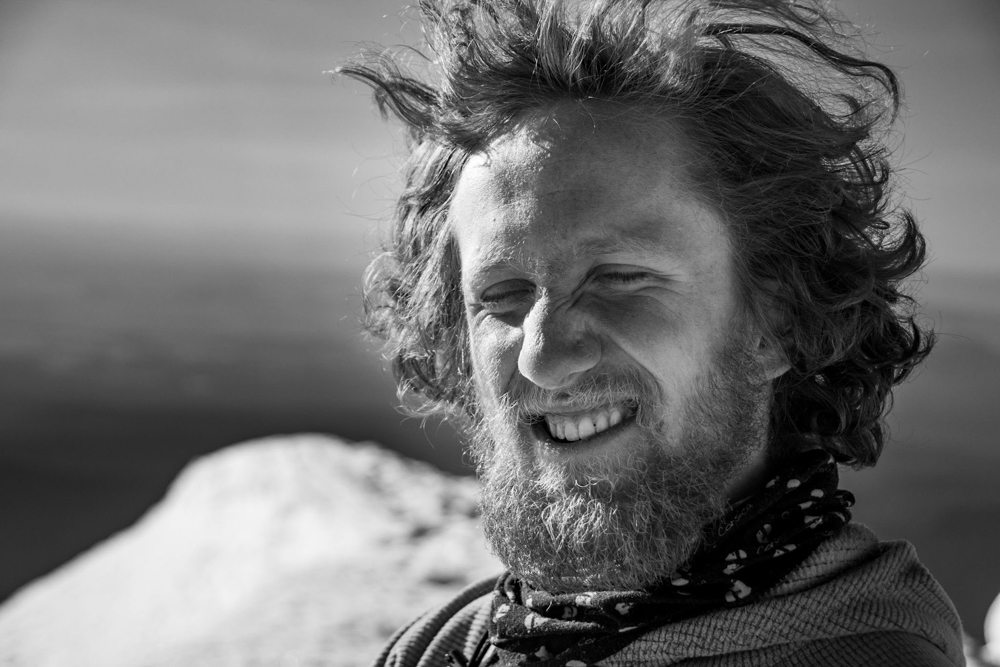
Dirt makes a scene feel more ‘rugged’, especially within an adventure setting. A dirty face for a portrait of a tired mountain climber, a dirty pair of shoes that are worn thin, both of these bring out the emotion of a photograph. Not to say you should go roll around in the dirt for a photoshoot but keep in mind that dirt adds emotion and texture to an image.
Wrapping It All Up
I didn’t mention anything about hardware. The camera isn’t the most important piece of photography skill. The cover of TIME magazine a few years back was taken with an iPhone camera. You don’t need expensive lenses and camera bodies to compose a great picture. The composition, lighting, and eye of the photographer are what make the photo.he lens will just take all that and pixelate into a digital colorspace. Sure, there is nuance to sensors, color palettes, and all sorts of ways you can spend more and more money on a camera… but start with the fundamentals, they are free.
About the Gear Tester
Sam Chaneles
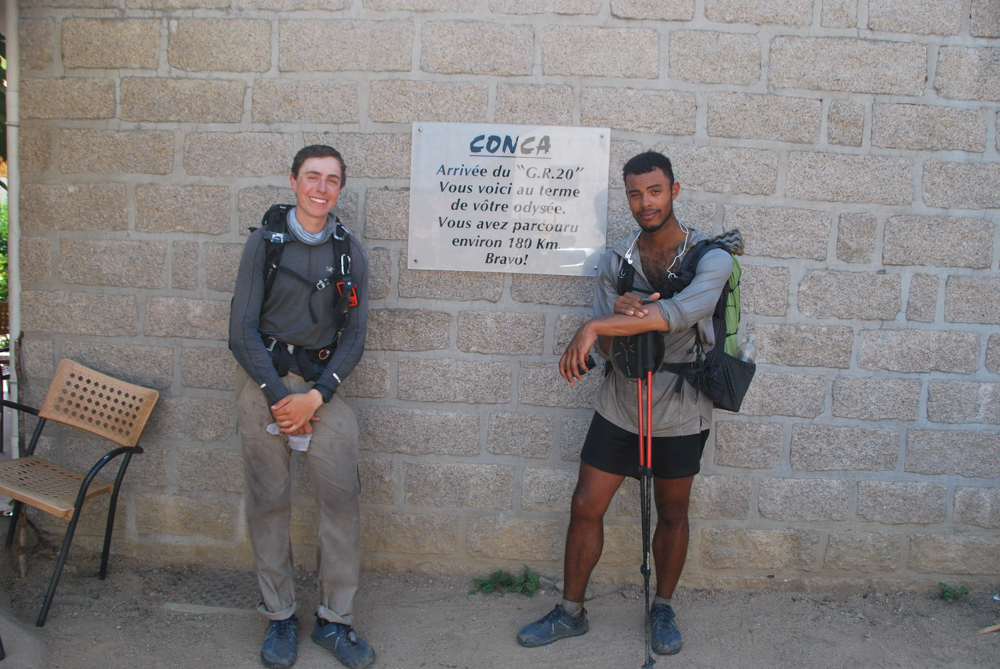
Sam Chaneles is an avid mountaineer and backpacker, climbing peaks in the Cascades, Mexico, Ecuador, and Africa, as well as hiking the John Muir Trail and off-trail routes in Colorado. He has climbed peaks such as Aconcagua, Mt. Rainier, Cotopaxi, Chimborazo, Kilimanjaro, and many more. Sam graduated with a B.S. in Mechanical Engineering from Georgia Tech. During his time there he was a Trip and Expedition Leader for the school’s Outdoor Recreation program (ORGT). He has led expeditions to New Zealand, Alaska, Corsica, France, and throughout the United States. Sam is based in Issaquah, WA just outside of the Cascade Mountains. You can follow Sam and his adventures on Instagram at @samchaneles, or on his website at www.engineeredforadventure.com.
-
Sam Chaneles#molongui-disabled-link
-
Sam Chaneles#molongui-disabled-link
-
Sam Chaneles#molongui-disabled-link
-
Sam Chaneles#molongui-disabled-link