What is ‘Off-Trail’ Travel?
Taking the Path Less Traveled
Disclaimer: Traveling off-trail is not for everyone, and there are some locations where it is prohibited. So please, before you travel off-trail read up on any rules and regulations of the natural area you are entering.
That disclaimer aside, traveling off-trail can unlock a new world of possibilities for exploring nature. You can chart your own path, go deep into the unknown, and get closer and closer to the middle of Nowhere.
There is so much to know about off-trail travel, but this article will focus on 5 fundamentals to start.These can begin as a foundation to expand your understanding and, hopefully, lead you to a point where you can begin to learn through your own experience.
- Utilize natural terrain features to guide your way
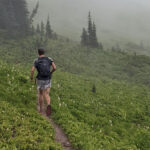
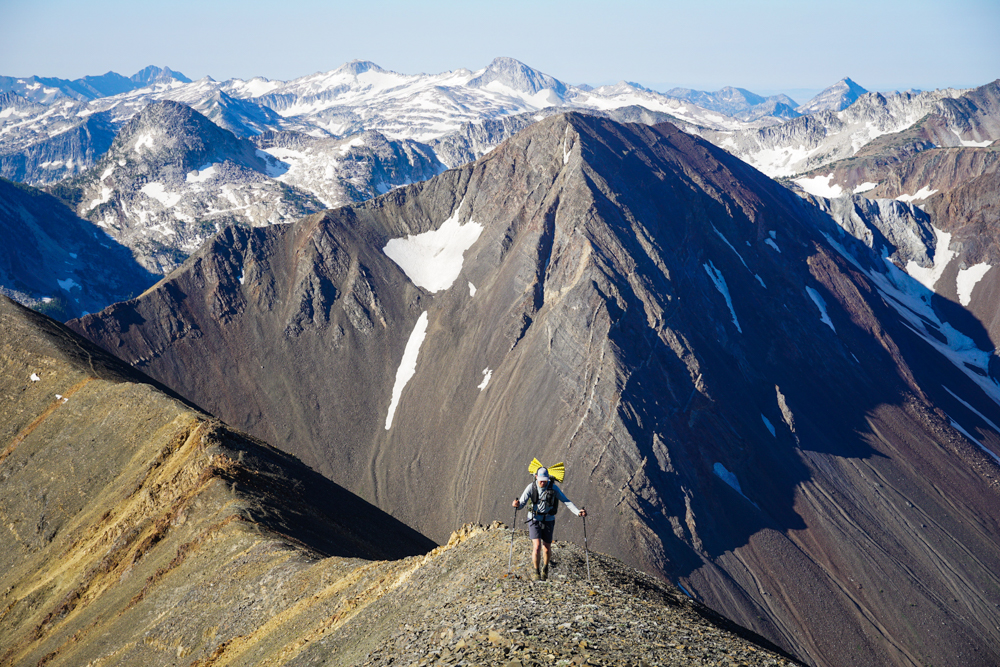
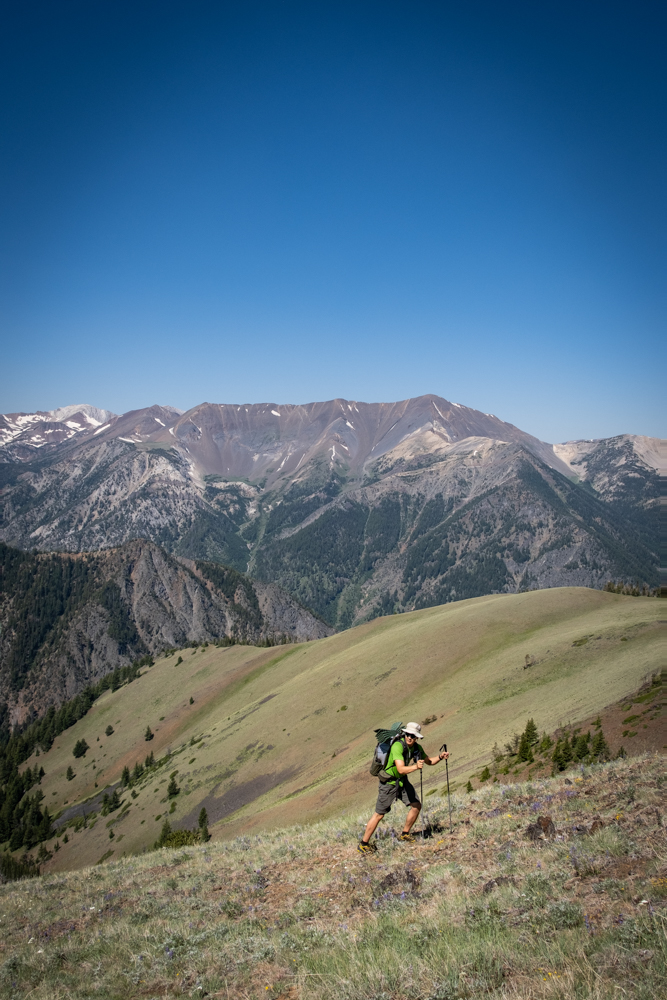
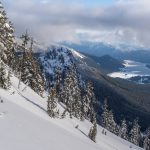
Mother Nature has carved the Earth in elegant ways…take note of them. Rivers and water drainages can be great natural ‘trails to follow’; water will typically flow in the path of least resistance. High ridgelines can be striking and aesthetic lines to follow across mountain ranges. Deep canyons can lead you through a maze of amazing sights.
- Typically, a ‘high route’ will attempt to take the highest possible route across a mountain range or ridgeline. It may involve scrambling, technical climbing, or low angle rock hopping. Most often, high routes will be exposed to winds, lack water sources, and be above treeline.
- ‘Pass-and-valley’ routes involve traveling through a river valley to a ‘pass’, which is a watershed divide between two drainages. These routes involve following water features and often have creek and/or river crossings that may involve fording, wading, or even in some cases, swimming. These types of routes are more prone to flooding, so be cognizant of rainfall and snowmelt.

- Consider your human impact on the terrain you travel on
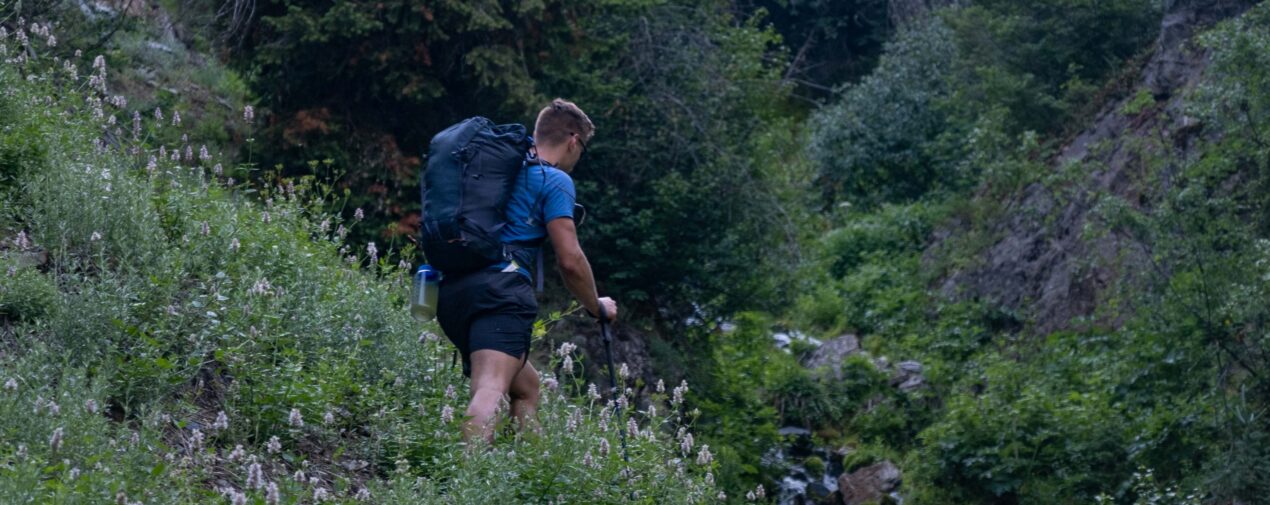
Unlike established trails which are beaten-in and durable surfaces, traveling off-trail can have a significant impact on the environment. Every time you take a step you are trampling the vibrant life beneath you. If you are traveling in a group, try and spread out to minimize the number of ‘footprints’ you are repeating. Even though you are making more ‘unique’ footprints, the environment is more resilient to one person’s foot as opposed to 5 people in a line. If you can, try to follow naturally durable surfaces like gravel, rock, sand, and other ‘hard surfaces’. If you must travel on soft ground, spread out.
**There are certain ecosystems that are particularly sensitive to off-trail travel. Please be considerate of where you are traveling.**
- Your speed of travel will heavily depend on the terrain surface
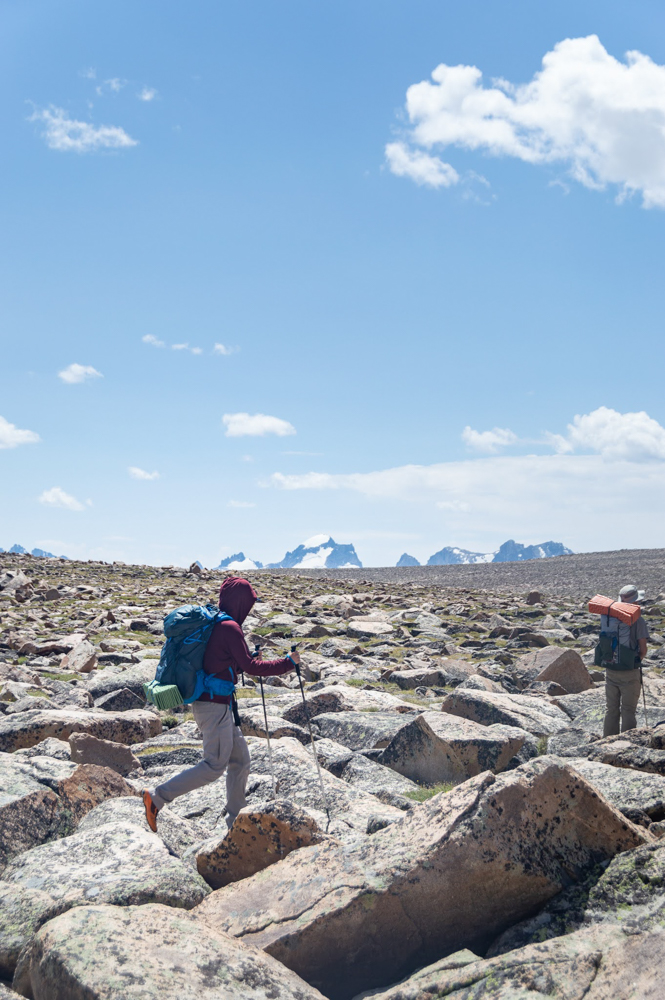
Unlike traveling on trail where your pace can be accurately calculated based on miles and elevation, off-trail travel speed can vary greatly depending on the surface of travel. For example, thrashing through alders and bushwhacking will be significantly slower than moving through low tundra. In general, off-trail travel will require you to decrease your normal mileage and elevation gain per day as compared to normal trail travel.
In general, for on-trail travel, 3 mph is a good ‘average’ hiking pace to use for calculating time estimates. On average, add 30 minutes for every 500’ vertical climbing. For off-trail travel, cut your travel speed by 50%-75% of your on-trail time. So for example:
10 miles + 2,000’ elevation gain = 10miles/3mph + 2,000’/500’/hr = 3hrs20min + 2hrs = 5hrs20min for on-trail
If you were going off-trail, a decent estimate would be 50%-75% of your on-trail speed, so in this case 5hrs20min/50% = 10hrs40min, whereas 5hrs20min/75% = 7hrs6min.
So for off-trail, anywhere from 7-10 hours would be a decent estimate, as compared to 5 hrs for on-trail. Big difference…
- Plan out your water sources, points of ‘exposure’ to the elements, etc.
Traditional trails will be built with water sources and shade in mind; now that you are traveling off-trail, you will have to make these considerations on your own. Consider how long you will be exposed to the sun and wind, to overhead hazards like rockfall from cliffs above, etc.
- Water Sources
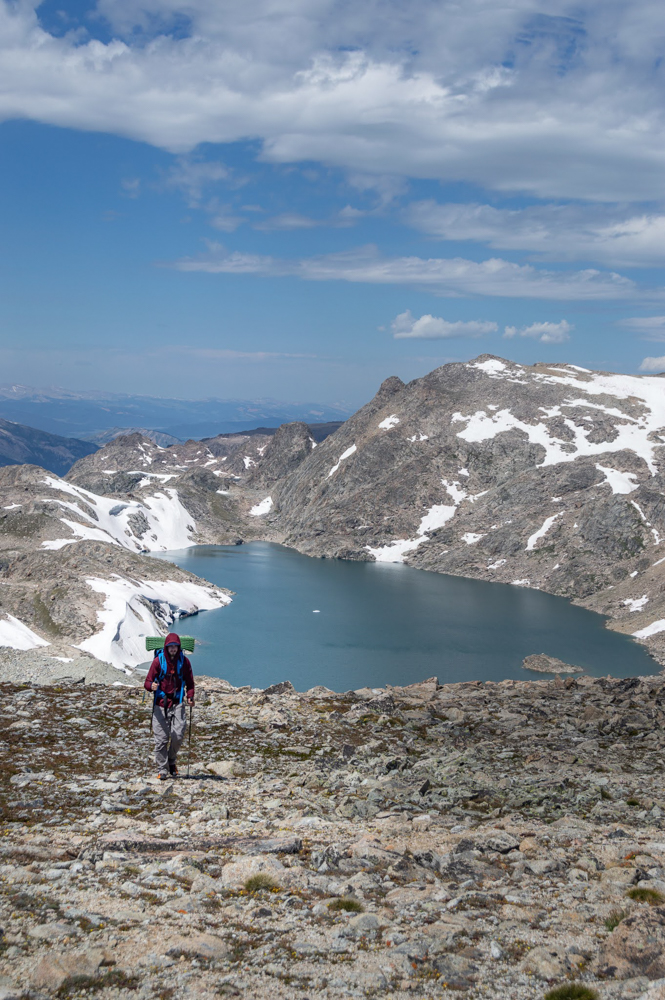
In general, you want to find water that is running, clear, and as close to the source as possible. Avoid stationary pools of water that are dark, have any live animals or bacteria in them, etc. Consider what is ‘upstream’ of your water source. For example, if there is a popular hikers’ camp at a lake upstream, I’d avoid taking water from that stream, as there is probably human impact on that water. Similarly, if there are herds of animals upstream, it’s likely that there is animal impact on that water. The best water is from the source, for example, the head of a river valley, a melting snowfield, a glacier, or a natural spring.
- Points of Exposure
Wind, sun, and rockfall are three topics I’ll cover here…
Wind will be most intense on high ridgelines and above treeline. It can be even more intense in ‘constrictions’ where free air is being funneled, for example on mountain passes. If you are traveling above treeline, you will want to be aware of what the wind forecasts will be, especially if it is cold. Wind can intensify the ambient temperature of the air, both for heat and cold.
Sun can vary in intensity depending on your latitude on the planet. Further to the north, in states like Alaska, the ozone layer is thinner and the relative percentage of UV radiation will be higher than in places like Arizona or Colorado. Additionally, exposure to sun can impact your water consumption, risk of heat stroke, etc. If you’re going to be traveling out of treeline, consider where you may find shade for rest stops, camping spots, etc.
Rockfall can be particularly hazardous for trips that travel under cliff bands. Areas like Colorado and Utah are particularly ‘chossy’, meaning that the rock is brittle and breaks easily. Most trails will avoid overhead hazards of rockfall, but when you are traveling off-trail that may not be the case. Consider the terrain above you as importantly as you do below your feet.
- Consider the weather’s impact on the travel surface
Trails are typically built with irrigation that diverts water away from where you will be walking. Off-trail, inherently, does not. Unless you are intentional about avoiding flood plains, drainages, and other areas where water may pool, you’ll be in for a surprise. Keep in mind how rain may affect traveling over rocks and ridgelines; if you’re planning to scramble on rock slab, wet rock will make that much more slippery and potentially dangerous.
Flooding is particularly hazardous in areas that funnel water. For example, river basins and river valleys can flood heavily if there are snowfields melting, lakes that may overflow, or heavy rains that are funneled from the slopes above. If you are traveling in a flood plain, make sure that you’re preparing for wet feet.
Wet rock can be hazardous when you are scrambling on Class 3 and 4 terrain. Typically you will be aware of Class 5 terrain, but Class 3 and 4 terrain is often not rated as such. Class 3 and 4 terrain can have exposure to falls and slips, and often involves the use of your hands for stability. When the rocks and/or grass that you are traveling on is wet, the risk of a slip is heightened. If your route involves Class 3 or 4 terrain, be wary if there is rain in the forecast.
In no way are these 5 bullet points a comprehensive ‘guide’ to off-trail travel, but they lay a good framework for thinking and planning off-trail travel. Consider reading trip reports from the areas you are looking to travel, consulting local experts, and reaching out to rangers/park staff if they are available for the area you are looking to visit.
Resources To Learn More:
- Andrew Skurka’s website, www.andrewskurka.com. Andrew is a professional hiker and has written tons of great articles on how to plan and pack for off-trail backpacking trips. He even offers a ‘Plan Like a Pro’ online course that contains all sorts of great tips, tricks, and guides on route, food, and gear planning.
- SpotWx is a great resource for weather forecasts. It loads multiple models into a user interface that has temperature, wind, freezing level, and much more data.
- Caltopo.com is a great resource for mapping. It’s free for basic features like their MapBuilderTopo layer; premium users pay $50/year for many more features like Scanned USFS topographic maps, overlaid weather grids, etc.
- GaiaGPS is another great mapping tool that many people use. It has a great mobile app that you can use to download maps offline.
About the Gear Tester
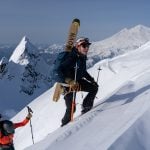
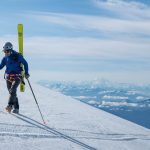
Sam Chaneles
Sam Chaneles is an avid mountaineer and backpacker, climbing peaks in the Cascades, Mexico, Ecuador, and Africa, as well as hiking the John Muir Trail and off-trail routes in Colorado. He has climbed peaks such as Aconcagua, Mt. Rainier, Cotopaxi, Chimborazo, Kilimanjaro, and many more. Sam graduated with a B.S. in Mechanical Engineering from Georgia Tech. During his time there he was a Trip and Expedition Leader for the school’s Outdoor Recreation program (ORGT). He has led expeditions to New Zealand, Alaska, Corsica, France, and throughout the United States. Sam is based in Issaquah, WA just outside of the Cascade Mountains. You can follow Sam and his adventures on Instagram at @samchaneles, or on his website at www.engineeredforadventure.com.
-
Sam Chaneles#molongui-disabled-link
-
Sam Chaneles#molongui-disabled-link
-
Sam Chaneles#molongui-disabled-link
-
Sam Chaneles#molongui-disabled-link