So You Want to Ski a Volcano? A Tutorial
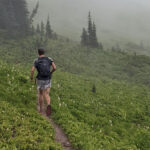
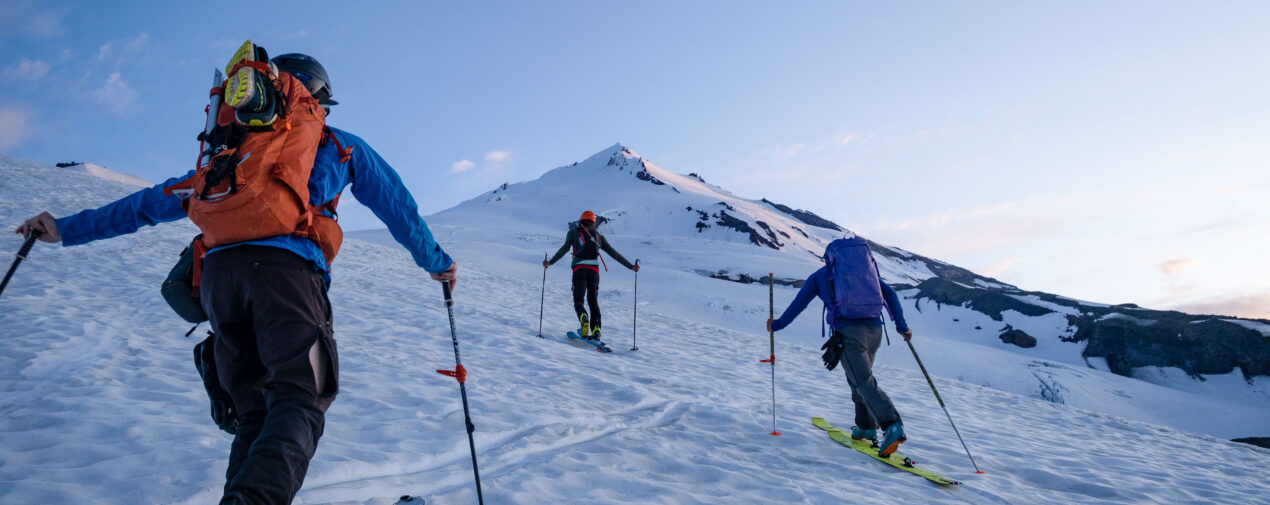
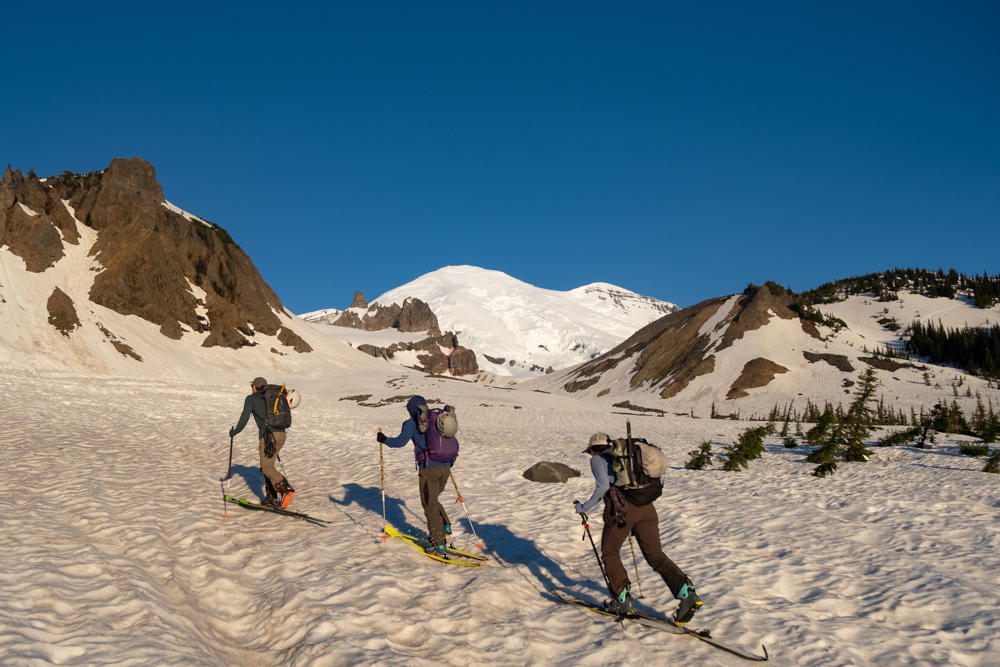
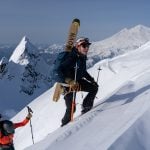
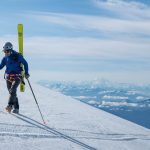
So you want to ski a volcano … like Mt. Rainier or Mt. Baker or Mt. Hood. The Pacific Northwest Ring of Fire is a classic starting place for spring ski mountaineering. Where else can you get 6,000’ ski runs in North America?? For reference, the longest ski run in North America drops 5,000’ (in Revelstoke).
Skiing a volcano is a bit different than your typical ski resort run, so I’ll run through 5 tips for planning your volcano ski trip.
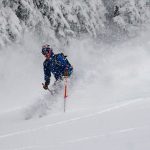
#1: Snow will likely be variable
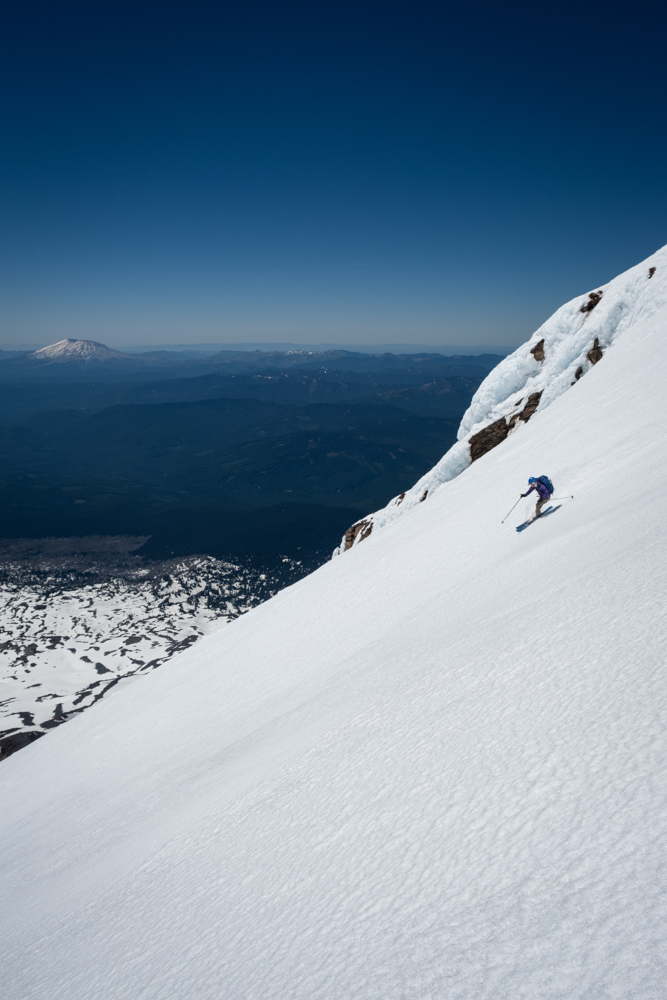
Volcanoes have a lot of prominence, meaning they protrude from the terrain around them and are exposed to the lower atmosphere. Often that means high winds, irregular cloud patterns, and unpredictability.
While volcanoes can have some great skiing, it’s prudent to plan for variable snow: be prepared for anything between boot top powder to wind board to ice to slushy corn. Bring a ski that can handle any of these conditions. Versatility is valuable on volcano ski trips, more so than specialization of any one feature.
#2: Timing is Key
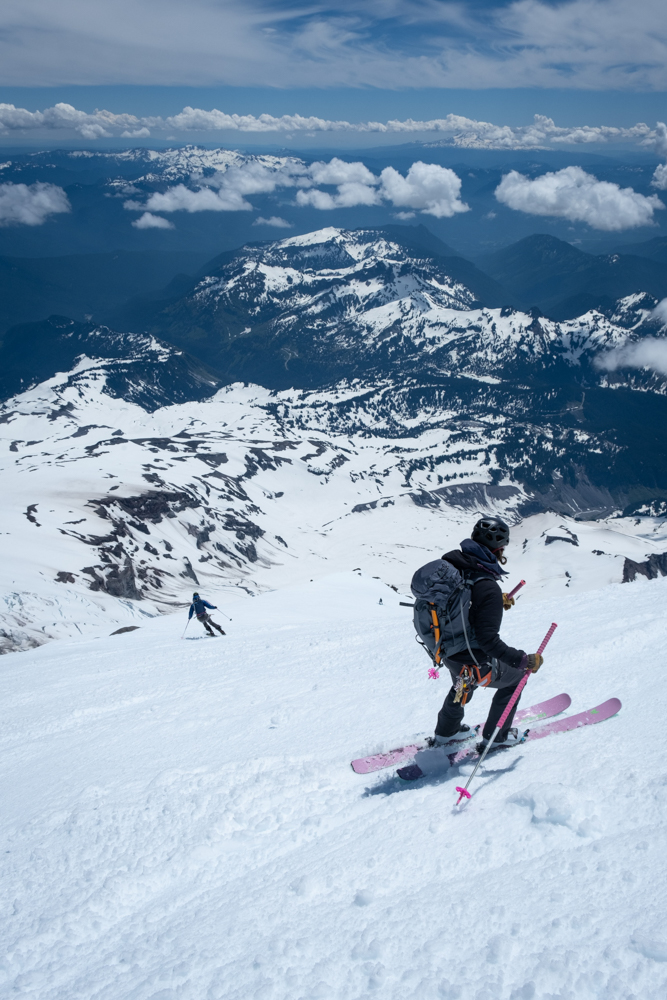
To ski a volcano in the springtime after melt-freeze cycles you need to time your ski descent appropriately. Throughout the day the snowpack on a volcano will freeze-melt-freeze due to sun exposure during the day and then colder conditions at night/early morning. You want to make sure you are hitting the early stages of the ‘melt’, when the snow is soft and consistent.
Skiers often refer to this as ‘corn-o-clock’. What does that mean? ‘Corn’ snow develops when the snowpack has gone through many melt-freeze cycles and has a thin upper layer of snow that will melt and be ‘slushy’ in the late morning/early afternoon. This is ‘corn’. There’s a more scientific definition of how the snow grains develop, but for simple explanation it’s soft, slushy, and consistent snow that has a firm base underfoot.
As a skier, you will need to aim to be skiing in the late morning/early afternoon. This time period can range widely depending on cloud cover, wind speeds, and temperature. You will NOT want to be descending as early as many of the mountain climbers you may see on volcanoes that start at times like midnight or even earlier.
On volcanoes like Mt. Rainier or Mt. Baker, noon is generally a good ‘reference point’ for descending. If there are higher winds and overcast clouds, you’ll want to wait longer into the early afternoon. If there are high freezing levels and intense sun, you may want to try and drop your line earlier (for more info on weather for backcountry skiing, read my previous post).
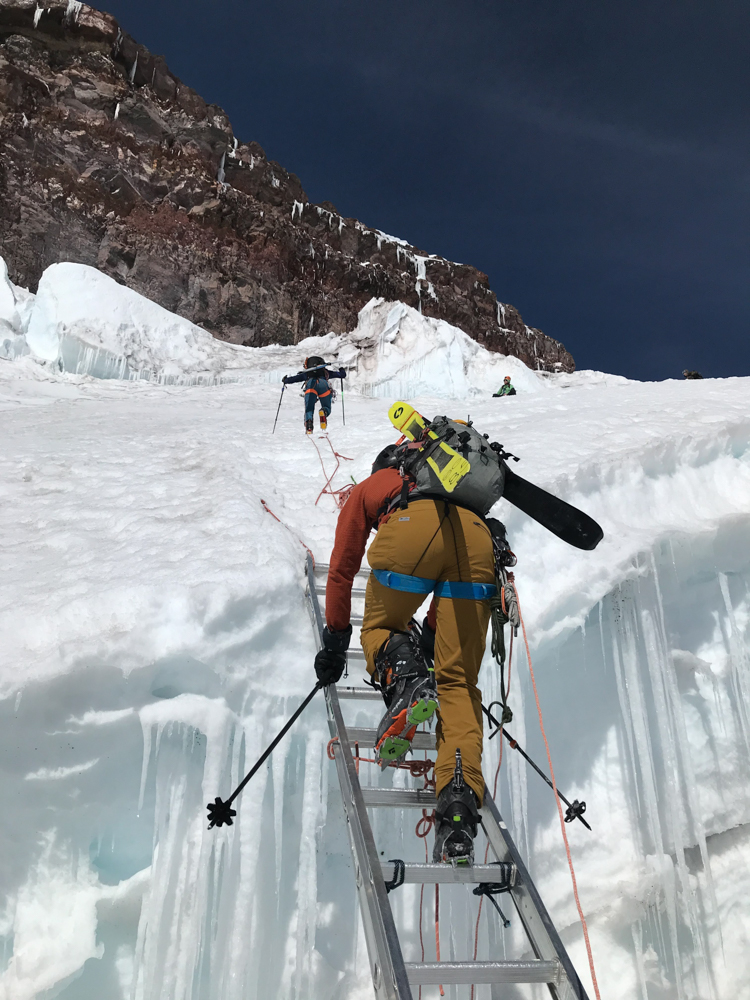
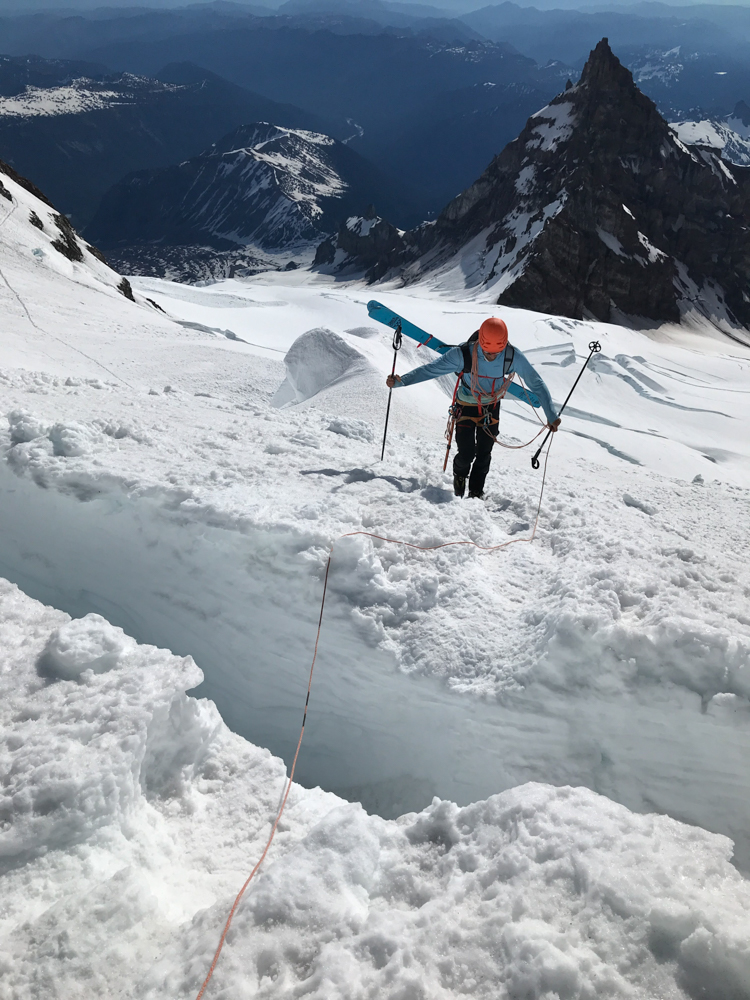
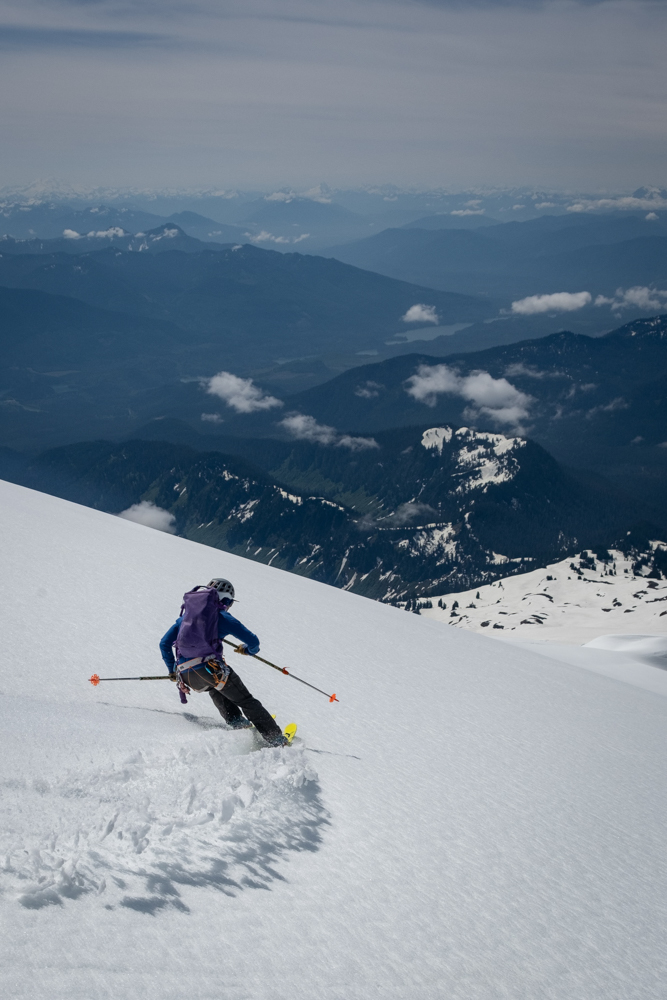
#3: Be Ready to Ski Amongst Crevasses
Crevasses are cracks within a glacier that are major fall hazards. Skiing amongst crevasses is a very different experience from riding in a ski resort, backcountry powder stashes, or even steep couloirs.
Many volcanoes are convex, meaning they have a slight tilt such that you can’t quite see what is below you. This can feel like you are ‘skiing into oblivion’.
Ski slowly and constantly check your navigation, whether that is a map, image, or GPX file, when you are skiing on a volcano. Only ski aggressively if you are confident there is nothing hazardous below you.
It’s also very helpful to have an ice axe readily accessible when skiing on a volcano, either in your hand directly or easily accessible on your pack, or even on your harness. Self-arrest can be a lifesaving skill if you lose an edge or need to sidestep up above a crevasse.
#4: Be Prepared for Firm Travel Conditions
Climbing volcanoes often happens in the early morning when the snowpack is frozen and firm. For skiers, this means ski crampons or boot crampons.
When the snowpack is firm enough to prevent boot penetration, I find boot crampons to be more efficient and trustworthy travel. Sure, this means my heavy skis are on my back, but it’s my personal preference. I can have my ice axe, kick steps, and all my crampon points engaged.
Some skiers really enjoy using ski crampons. These are pieces of metal that slide into the toepiece of your AT binding and have ‘teeth’ that drive into the firm snow/ice to give you additional traction. If you’ve never used ski crampons before, I do not recommend doing so for the first time on your volcano trip. Try them out at your local hill on a firm/icy day. They are not the most intuitive to travel with, especially if you use heel risers. You need to make sure that you are applying pressure to the ski crampon at all times; otherwise, it won’t actually bite into the snow and give you the security you are looking for.
ALWAYS have an ice axe or Whippet with you on a volcano. It’s a critical piece of mountaineering hardware, especially if you need to rescue a partner from a crevasse. It goes without saying that you should also be training and practicing on crevasse rescue and general glacier travel.
#5: Study Your Route
Sadly, many ski lines on our glaciated volcanoes are changing dramatically from year-to-year due to glacial recession. Crevasses are opening up earlier and wider, bergschrunds (the large crevasse at the start/end of a glacier) are failing to fill in, and sometimes glacial ice is exposed the entire year.
Study your route by reading historical trip reports. Look on sites such as Turns-All-Year.com, talk to rangers, and scour the internet for trip reports from various blogs. It’s very helpful to read people’s experiences on routes, how they ascended the route, what their conditions were like, etc.
There’s often numerous ways you can tackle any line, whether it’s going ‘top-down’ or ‘bottom-up’, aiming for it in corn or powder… you name it. No matter what, gathering a large sample set of experiences by reading through trip reports is a key to being prepared.
Here are just a few useful sources of information for trip reports:
- Turns-All-Year.com
- This has been a popular forum for backcountry skiers in the PNW for decades now. It’s searchable by keyword, location, and year.
- Mt. Rainier Climbing Blog
- Maintained by the National Park Service, this website has great information on climbing routes, as well as updates on current conditions.
- Facebook, Instagram, and Strava
- Social media platforms can be a great resource for trip planning/reports. Facebook groups, Instagram stories/posts about recent trips, and especially Strava posts/reports on activities are my go-to locally. It’s harder for out-of-town visitors to use this resource, as you may not know who to follow, etc. Facebook groups can be a great start to ask questions and get a ‘lay of the land’
About the Gear Tester
Sam Chaneles
Sam Chaneles is an avid mountaineer and backpacker, climbing peaks in the Cascades, Mexico, Ecuador, and Africa, as well as hiking the John Muir Trail and off-trail routes in Colorado. He has climbed peaks such as Aconcagua, Mt. Rainier, Cotopaxi, Chimborazo, Kilimanjaro, and many more. Sam graduated with a B.S. in Mechanical Engineering from Georgia Tech. During his time there he was a Trip and Expedition Leader for the school’s Outdoor Recreation program (ORGT). He has led expeditions to New Zealand, Alaska, Corsica, France, and throughout the United States. Sam is based in Issaquah, WA just outside of the Cascade Mountains. You can follow Sam and his adventures on Instagram at @samchaneles, or on his website at www.engineeredforadventure.com.
-
Sam Chaneles#molongui-disabled-link
-
Sam Chaneles#molongui-disabled-link
-
Sam Chaneles#molongui-disabled-link
-
Sam Chaneles#molongui-disabled-link